Environments
This document guides MAAP users in the process of selecting, extending existing environments (the set of libraries availables for analysis) or creating custom environments.
Workspaces
The MAAP Hub offers various workspace options, each workspace coming with its own environment that has pre-installed essential libraries for computing and geospatial analysis as well as MAAP specific extensions. At the time of writing this guide, here are the options:
Pangeo image: Built from Pangeo notebook image: https://github.com/pangeo-data/pangeo-docker-images/blob/master/pangeo-notebook/environment.yml with VEDA packages https://github.com/NASA-IMPACT/pangeo-notebook-veda-image/blob/main/environment.yml
isce3 image: Built from Pangeo base notebook with these packages installed: https://github.com/MAAP-Project/maap-workspaces/blob/main/base_images/2i2c/isce3/environment.yml
R image: py-rocket-geospatial-2 base image with a couple Python packages: https://github.com/MAAP-Project/maap-workspaces/blob/main/base_images/2i2c/r/environment.yml and these R packages: https://github.com/MAAP-Project/maap-workspaces/blob/main/base_images/2i2c/r/scripts/install_cran_packages_r.sh
QGIS image: Built from quay.io/2i2c/nasa-qgis-image and does not have MAAP extensions
PyTorch image (if requested access): Built from quay.io/pangeo/pytorch-notebook
Tensorflow2 image (if requested access): Built from quay.io/pangeo/ml-notebook
Bringing your own image
Please consult the docs here for more information about creating and bringing your own image to the MAAP Hub https://docs.openveda.cloud/user-guide/scientific-computing/custom-environments.html Information provided for Python and R images If you would like to build off of MAAP images, you can use this repo as an example: https://github.com/MAAP-Project/repo2docker-maap-images
Extending existing environments
Users may need libraries for their specific analysis purposes that are not present in the environments of the different workspace options offered. In this case, ideally, the steps should be the following :
The user explores her/his environment need by extending the environment of an existing workspace or creating her/his custom environment in an existing workspace (see next sections).
Once that is done, the user submits a ticket/coordinates with the platform team to create a new workspace option with the requested, finalized environment.
The above approach is ideal because modifications to the pre-defined workspace environment do not survive a workspace restart (see next sections), and because sharing new experimented environments is valuable.
The next sections explain how to extend environments or create custom environments, and for this, introduces information regarding which environment management solution we are using.
Package manager
We use conda with the libmamba solver as a package manager to install, update or remove packages (libraries). conda works with ‘environments’ that are directories in your local file system containing a set of packages. When you work ‘in a given environment’, it means that your programs will look for dependencies in that environment’s conda directory. All workspaces launch with a default environment that has all the pre-installed libraries for that workspace. The default name for our
environments is notebook:
You can notice that a notebook conda environment is activated by default, and its libraries are located in /srv/conda/envs/notebook.
Extending the default environment in a given workspace session
Any modification to the default workspace environment, or to the ``base`` environment, does not survive a workspace restart.
Extending an existing conda environment means adding packages on top of what it contains, which works provided there are no dependency conflicts. You can install libraries using the conda install command to install additional packages in your current environment (run conda --help to learn more about how to use conda commands). Note that you need a workspace with at least 14.8GB RAM to install packages with conda, this is the default memory option. All conda install commands
should use -c conda-forge otherwise it’s unlikely to work, since many/most of the packages installed already are from conda-forge. For example :
conda install -c conda-forge xarray
libmamba is the default solver, but users are welcome to set the solver to “classic” with:
conda install --solver=classic -c conda-forge xarray
However, it is recommended to use configuration files for reproducibility and shareability. With this approach, assuming your configuration file is named config.yml, the command to use is :
conda env update -f config.yml
For more details on configuration files, see the Custom environments section and for an example of this command, refer to the subsection about updating an environment with a configuration file.
IMPORTANT NOTE
Bringing your own image is preferred over custom environments as these changes are persistent after your environment restarts
Custom environments
For the rest of this README, in each section we provide a link to download an example YAML configuration file.
You can use the conda CLI to create a new, custom environment. The parameters (the list of libraries, the location where to search for them, etc…) can be passed either from a configuration YAML file or directly on the console. We recommend using the first option (a YAML file is easier to share and modify).
Basic custom environment
Note
Example config file for a basic custom environment here.
This configuration installs specific versions python, pandas and geopandas from conda-forge. If versions aren’t specified, the latest is installed. We recommend to always specify the version for reproducibility. The basic command to create this environment would be :
conda env create -f env-example.yml
Updating an existing environment with a configuration file
Note
Example config file for updating the notebook environment here.
You can update an existing environment with a configuration file as well. For example, let’s assume you have a conda environment with a set of packages already installed in it (for example the pangeo environment, or another default workspace environment), but it doesn’t have xarray and geopandas. Using the linked example config :
conda env update -f env-extend.yml
This command will update the active environment by adding xarray and geopandas, provided it does not cause conflicts with the existing libraries.
Using pip for python packages
Note
Example config file for using pip install here.
Some python packages might not be availabe in the channel you are using, or in any conda channel. If that package however is in PyPI (the official python package repository), one can use pip within a conda environment to download packages. The recommended way is to specify this in the configuration file. In the linked example, we add stackstac as a dependency to install from PyPI because it is not available in the conda-forge channel.
Using custom environments in jupyter notebooks
Note
Example config file for this section here.
The following instruction steps are for python kernels.
Make sure ipykernel is listed as a dependency in your configuration file.
Create your environment using the linked configuration file.
Install the environment as a kernel by running the following command (parameter values follow the example mentioned):
python -m ipykernel install --user --name env-with-ipykernel --display-name "Python env-with-ipykernel"
The above command installs the environment as a kernel in Jupyter, making it accessible in the notebook with a display name of “Python env-with-ipykernel”.
Wait around 30 seconds and launch a new notebook. Among the kernel options, you should see “Python env-with-ipykernel” listed. Below you can see a screenshot that shows what this step looks like:

Remove by listing kernelspecs
jupyter kernelspec listto find name, thenjupyter kernelspec remove <env>
Suggested packages for custom environment
Note
Example config file for installing maap-py via pip here
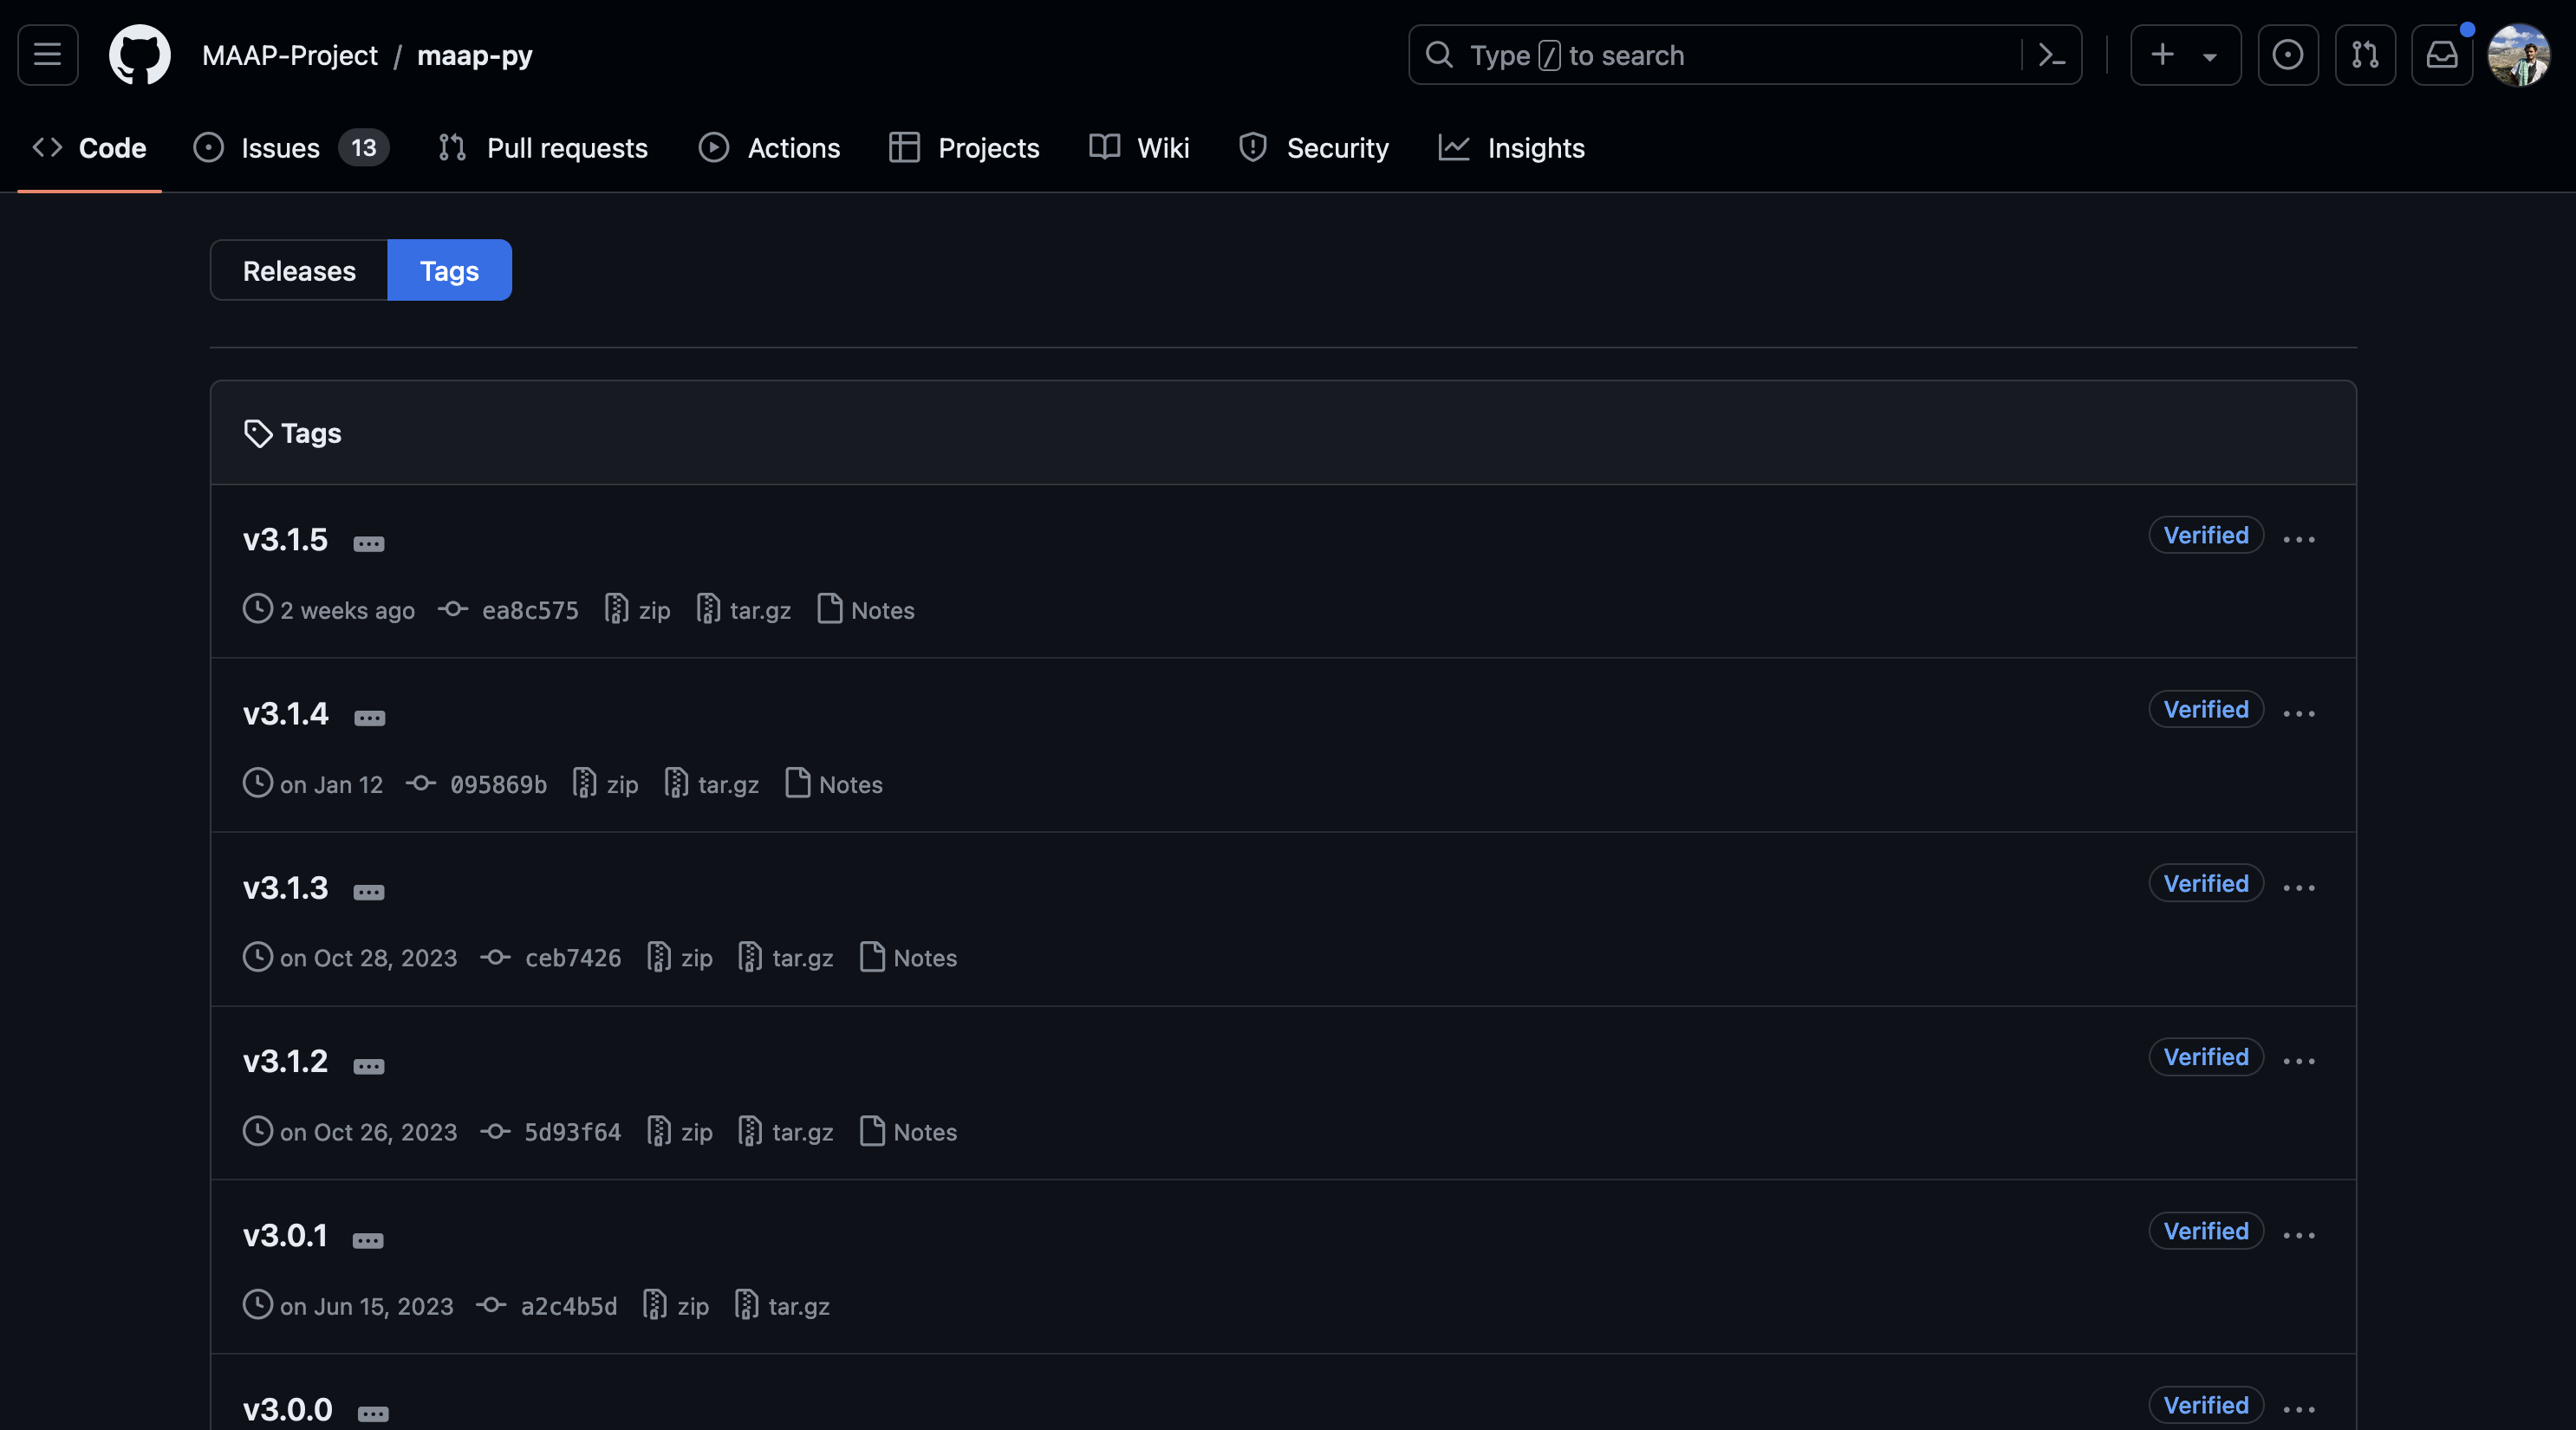
MAAP users typically use the python maap-py. It’s pre-installed in all workspaces, in the default workspace environment. Any custom environment should specify it, otherwise it is not going to be accessible from that environment. However, maap-py is not packaged in a public package repository, like PyPI or conda-forge. It is possible to install it directly from its Github repository with pip though. See the configuration example linked. You can note that in the example,
maap-py is ‘versioned’ using one of the maap-py git version tags. You can find the most recent maap-py tags on the github repository in the “releases” page :
The relevant MAAP extensions for algorithms and jobs on PyPi are:
maap-jupyter-server-extension (needs to be abled with
jupyter server extension enable maap_jupyter_server_extension)maap-dps-jupyter-extension
maap-algorithms-jupyter-extension