Creating a workspace
Workspaces are effectively a JupyterLab “computer in the cloud”. To get started with Jupyter you need to create a workspace.
Overview of our images (with MAAP extensions):
Image changes: We no longer provide a Python image, use the Pangeo image as a default if you don’t know where to start. We moved off conda for R and all R packages for the R image are installed with CRAN or R universe. Information about packages installed in each image:
Pangeo image: Built from Pangeo notebook image: https://github.com/pangeo-data/pangeo-docker-images/blob/master/pangeo-notebook/environment.yml with VEDA packages https://github.com/NASA-IMPACT/pangeo-notebook-veda-image/blob/main/environment.yml
isce3 image: Built from Pangeo base notebook with these packages installed: https://github.com/MAAP-Project/maap-workspaces/blob/main/base_images/2i2c/isce3/environment.yml
R image: py-rocket-geospatial-2 base image with a couple Python packages: https://github.com/MAAP-Project/maap-workspaces/blob/main/base_images/2i2c/r/environment.yml and these R packages: https://github.com/MAAP-Project/maap-workspaces/blob/main/base_images/2i2c/r/scripts/install_cran_packages_r.sh
QGIS image: Built from quay.io/2i2c/nasa-qgis-image and does not have MAAP extensions
PyTorch image (if requested access): Built from quay.io/pangeo/pytorch-notebook
Tensorflow2 image (if requested access): Built from quay.io/pangeo/ml-notebook
Select an image to launch. If you are not sure what image you want, we recommend you start with the “Modified Pangeo Notebook” image. You can configure your resource allocation here. You need at least 14.8GB RAM to use conda
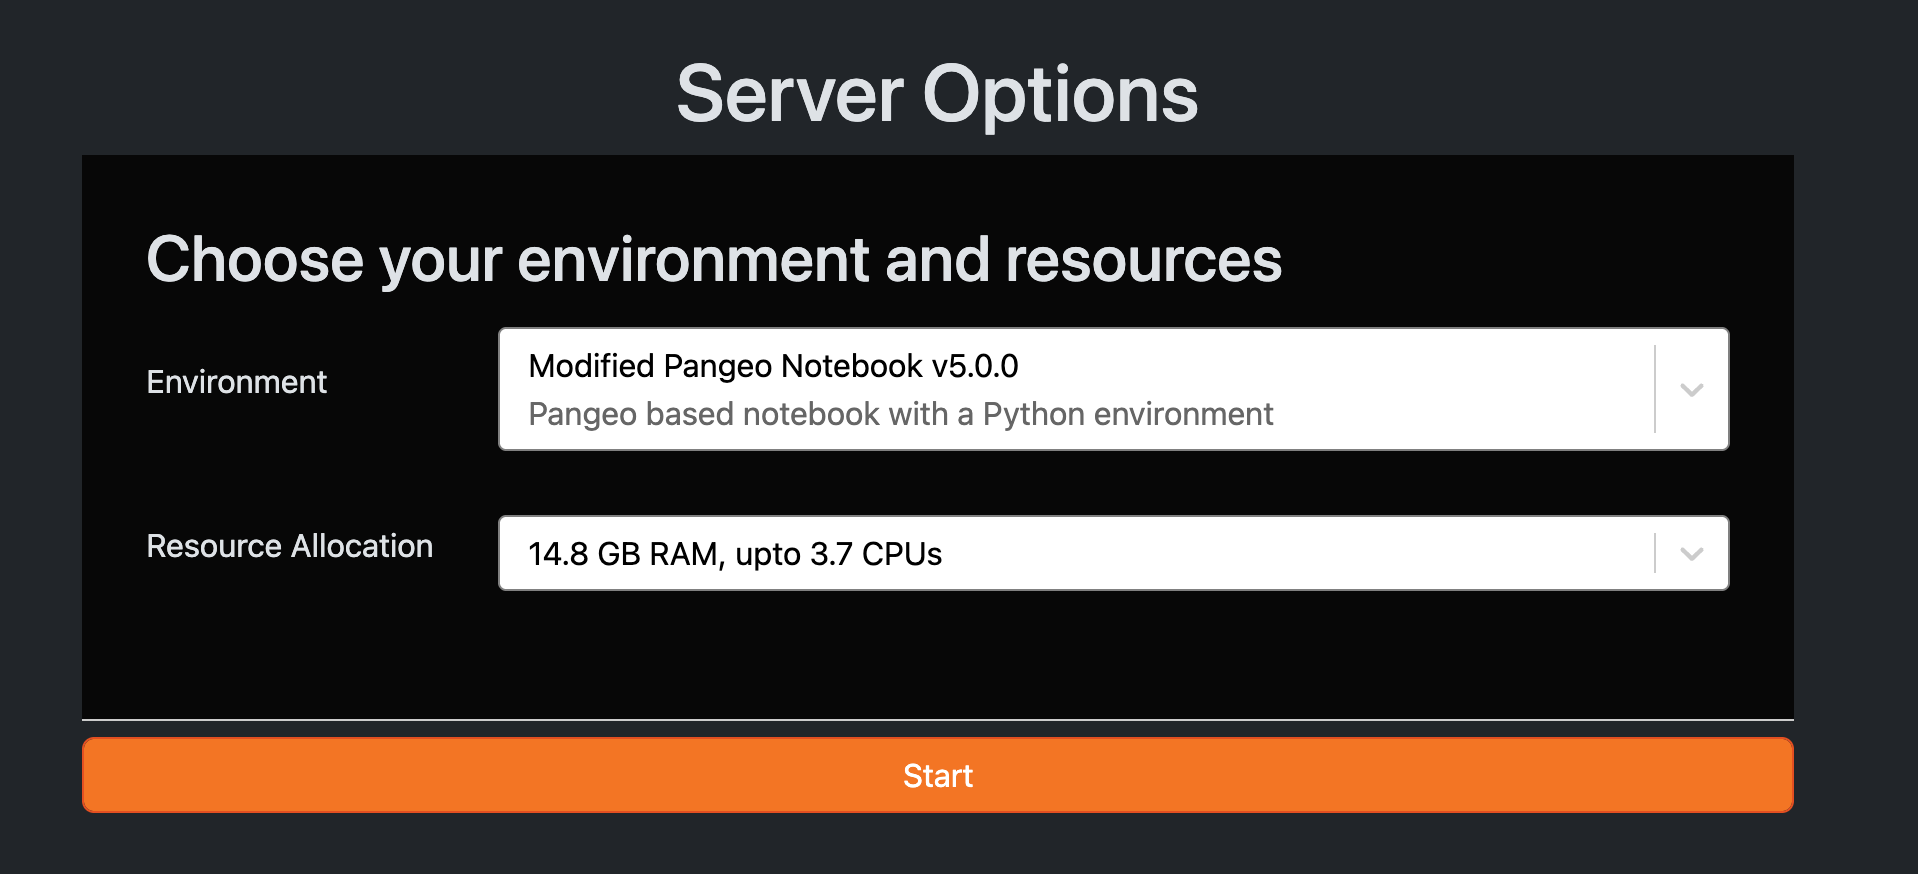
After choosing your image, you will see a loading screen – wait for it to finish loading.
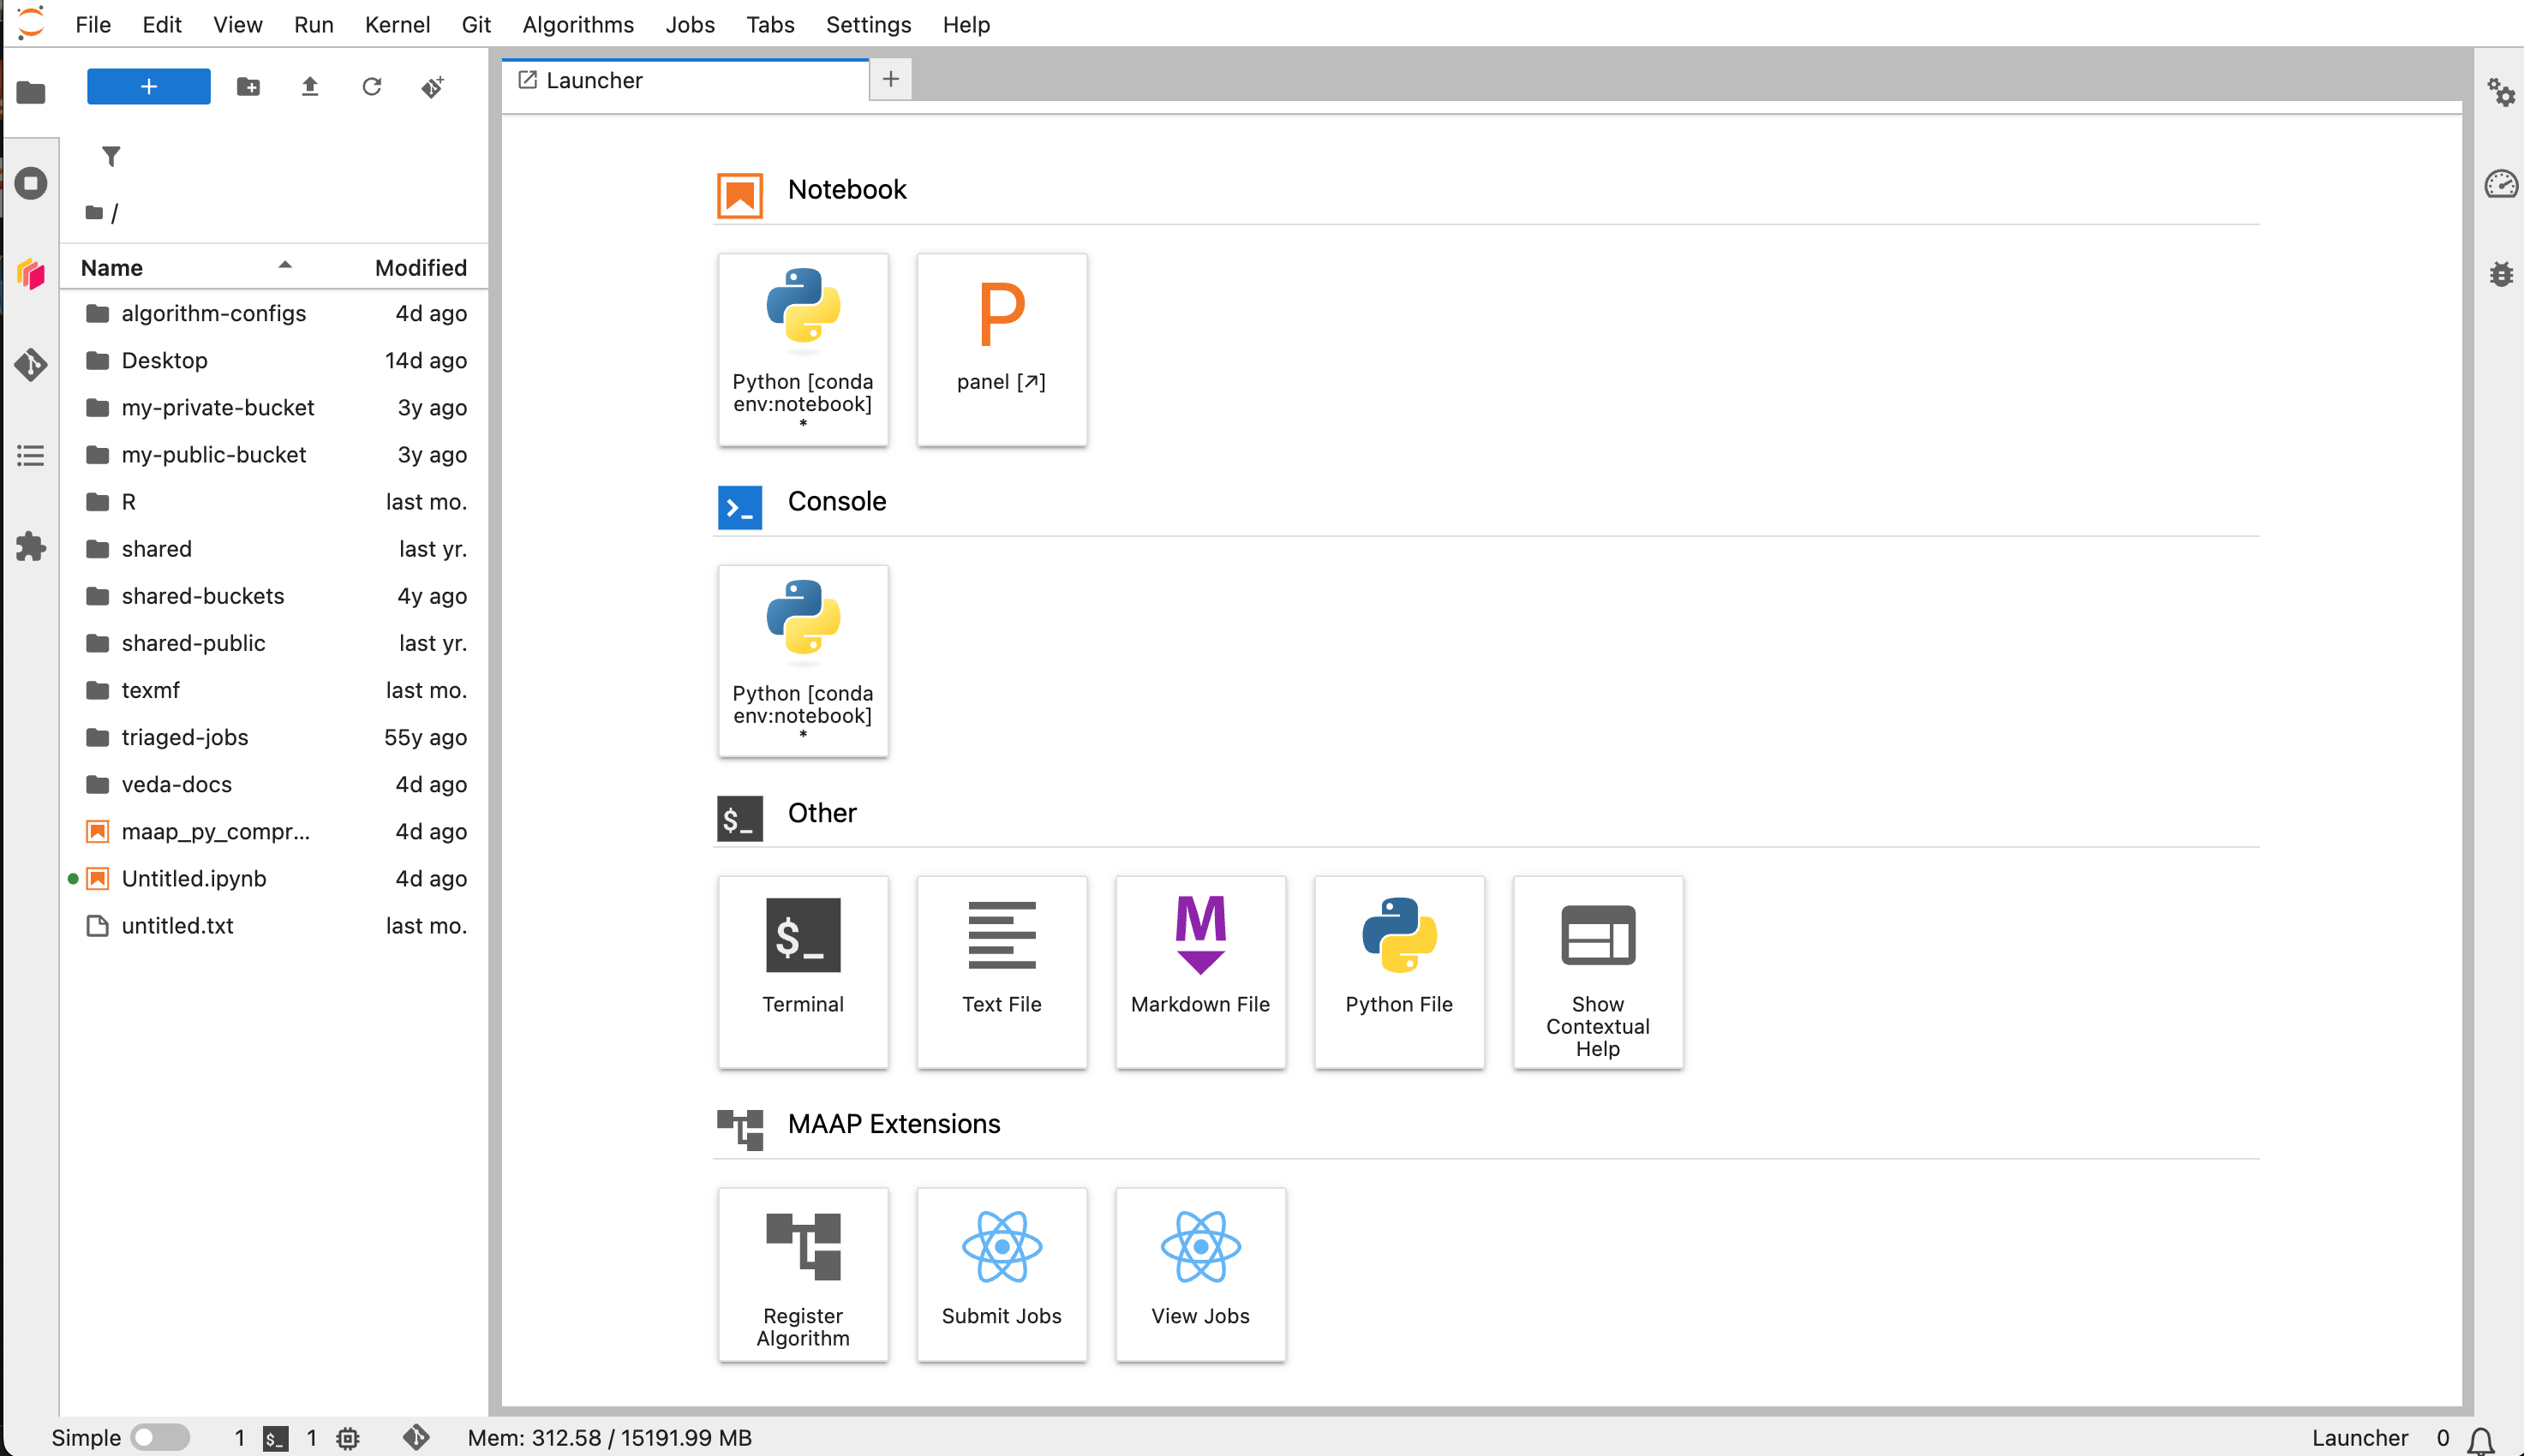
Once the workspace has loaded, you should see a Jupyter interface that looks like this
Access the Hub Control panel from an active workspace by File -> Hub Control Panel. From here you can launch a new workspace 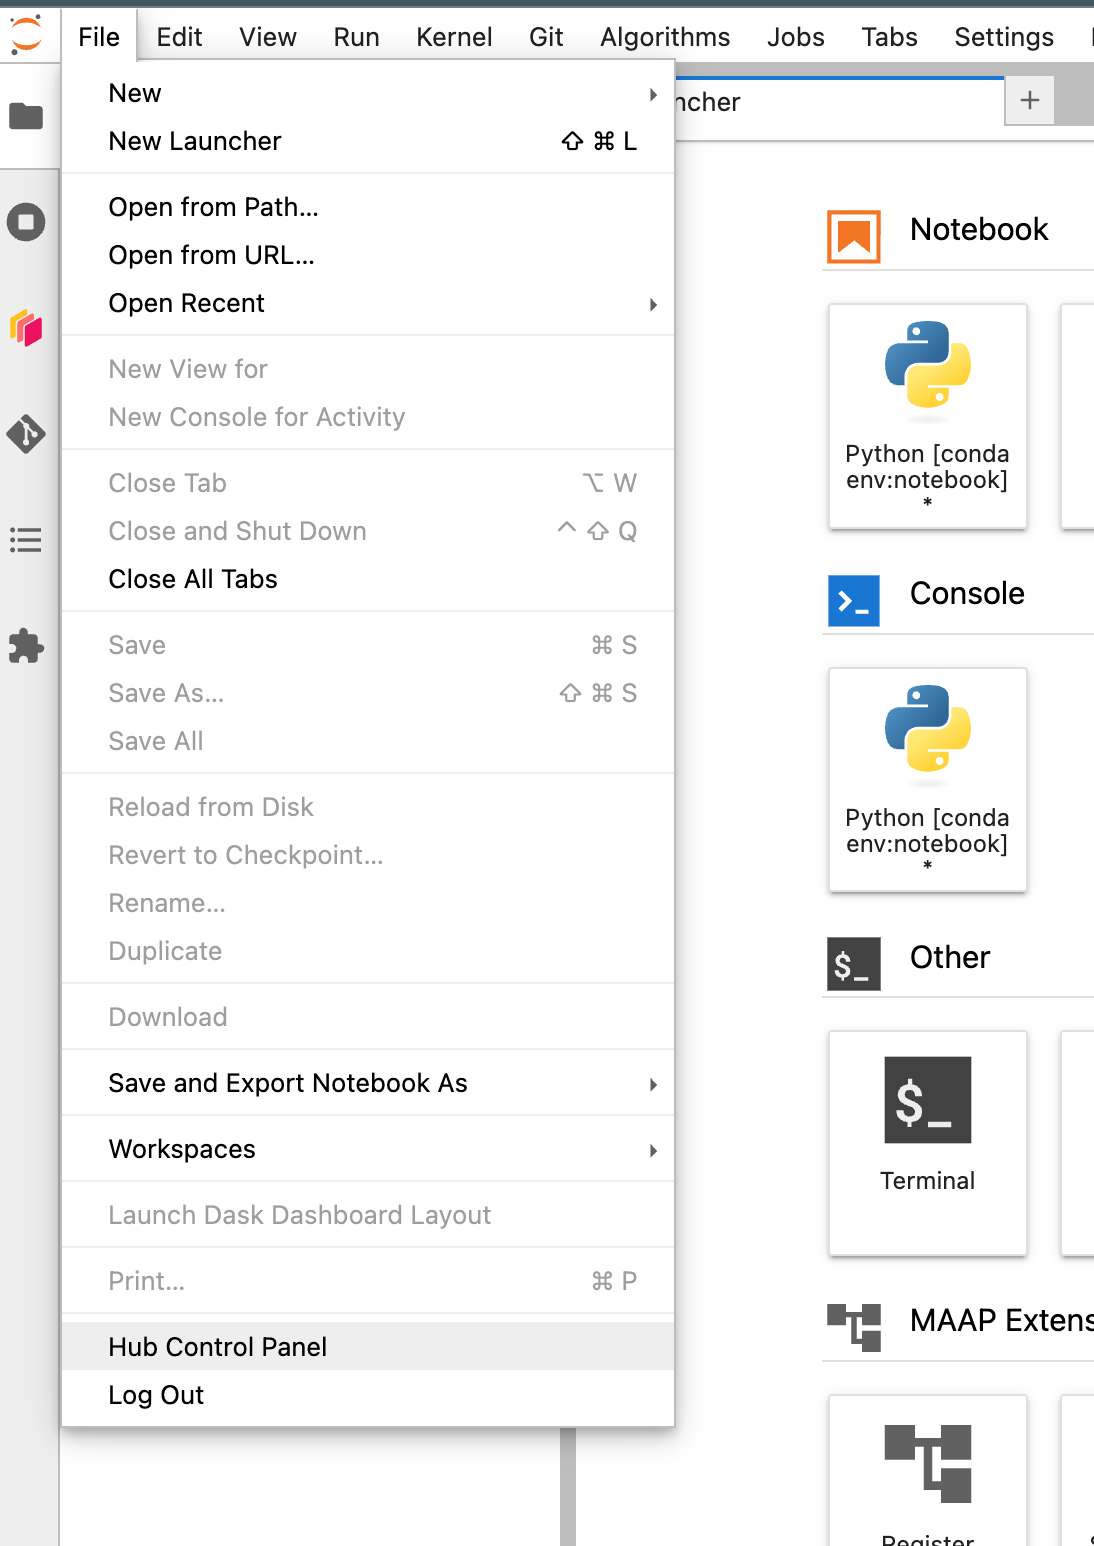
More information about JupyterHub: https://jupyterhub.readthedocs.io/en/stable/tutorial/index.html#getting-started
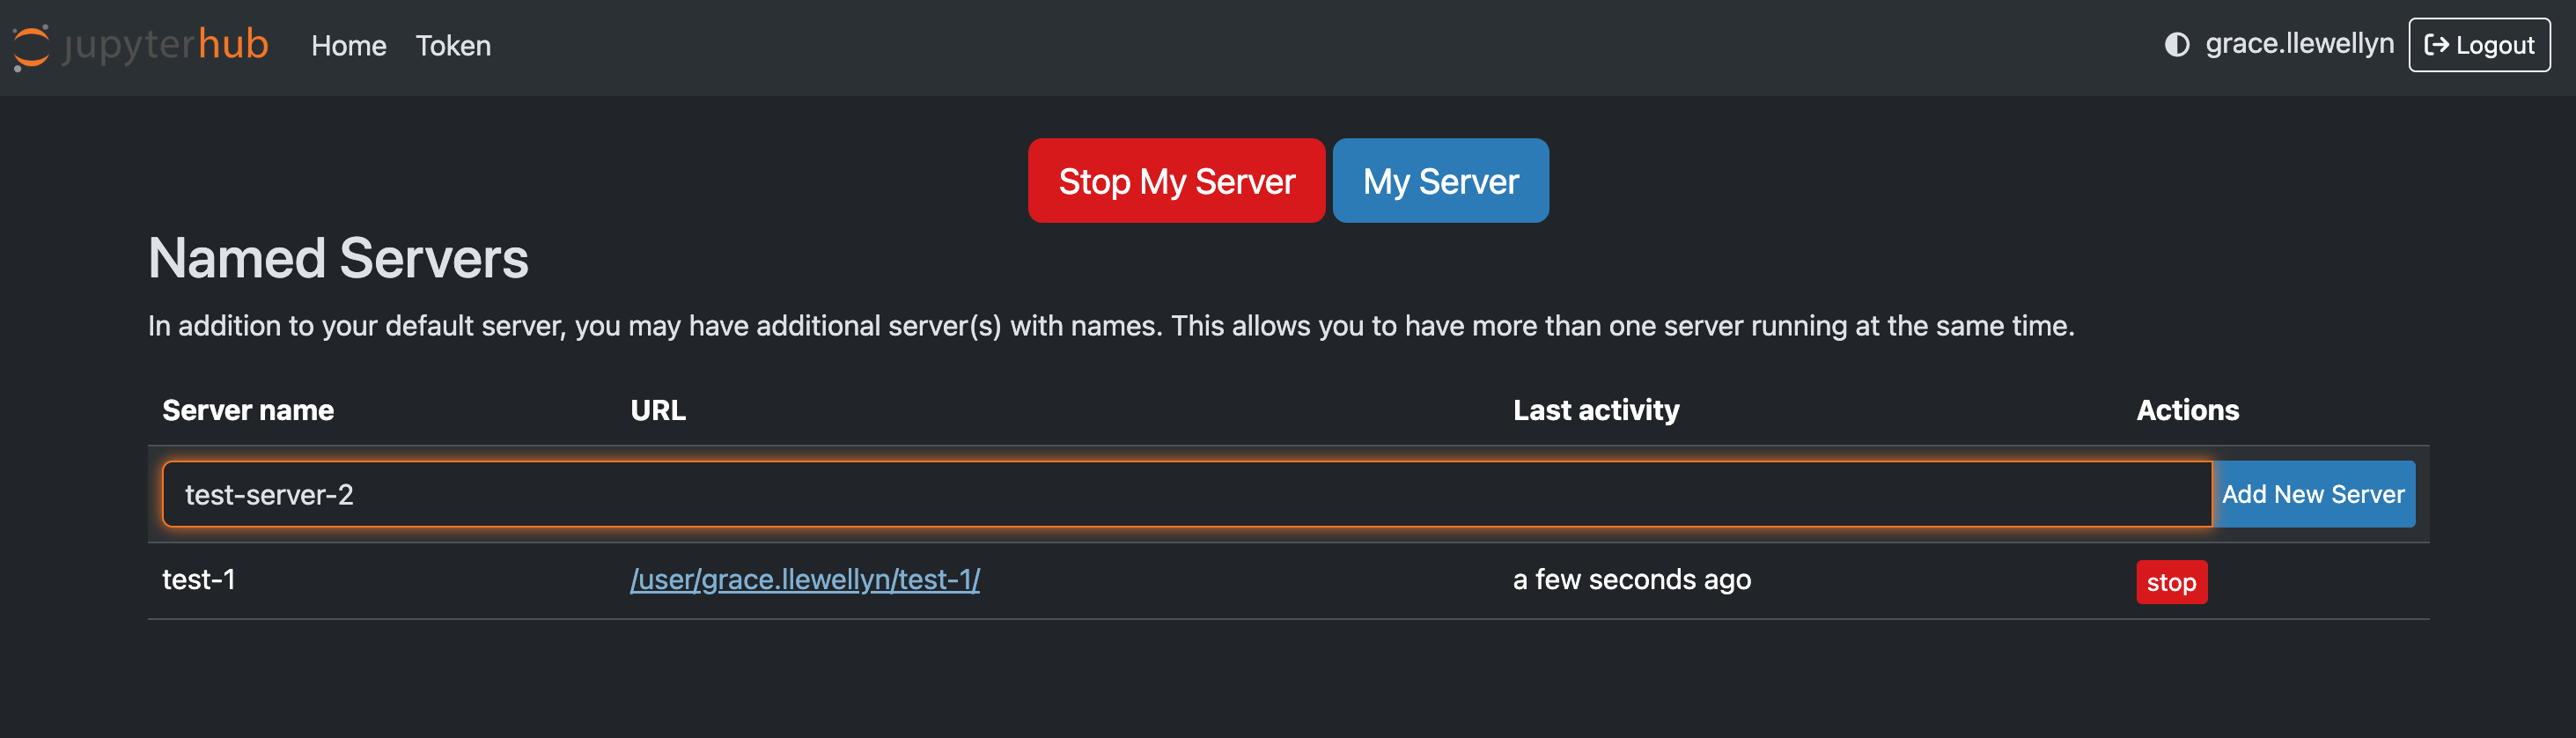
Multiple running workspaces
To add another workspace/ server to have multiple running, go to https://hub.maap-project.org/hub/home and type in a name then press “Add New Server”