Working with Git
Clone a Repository with GitHub
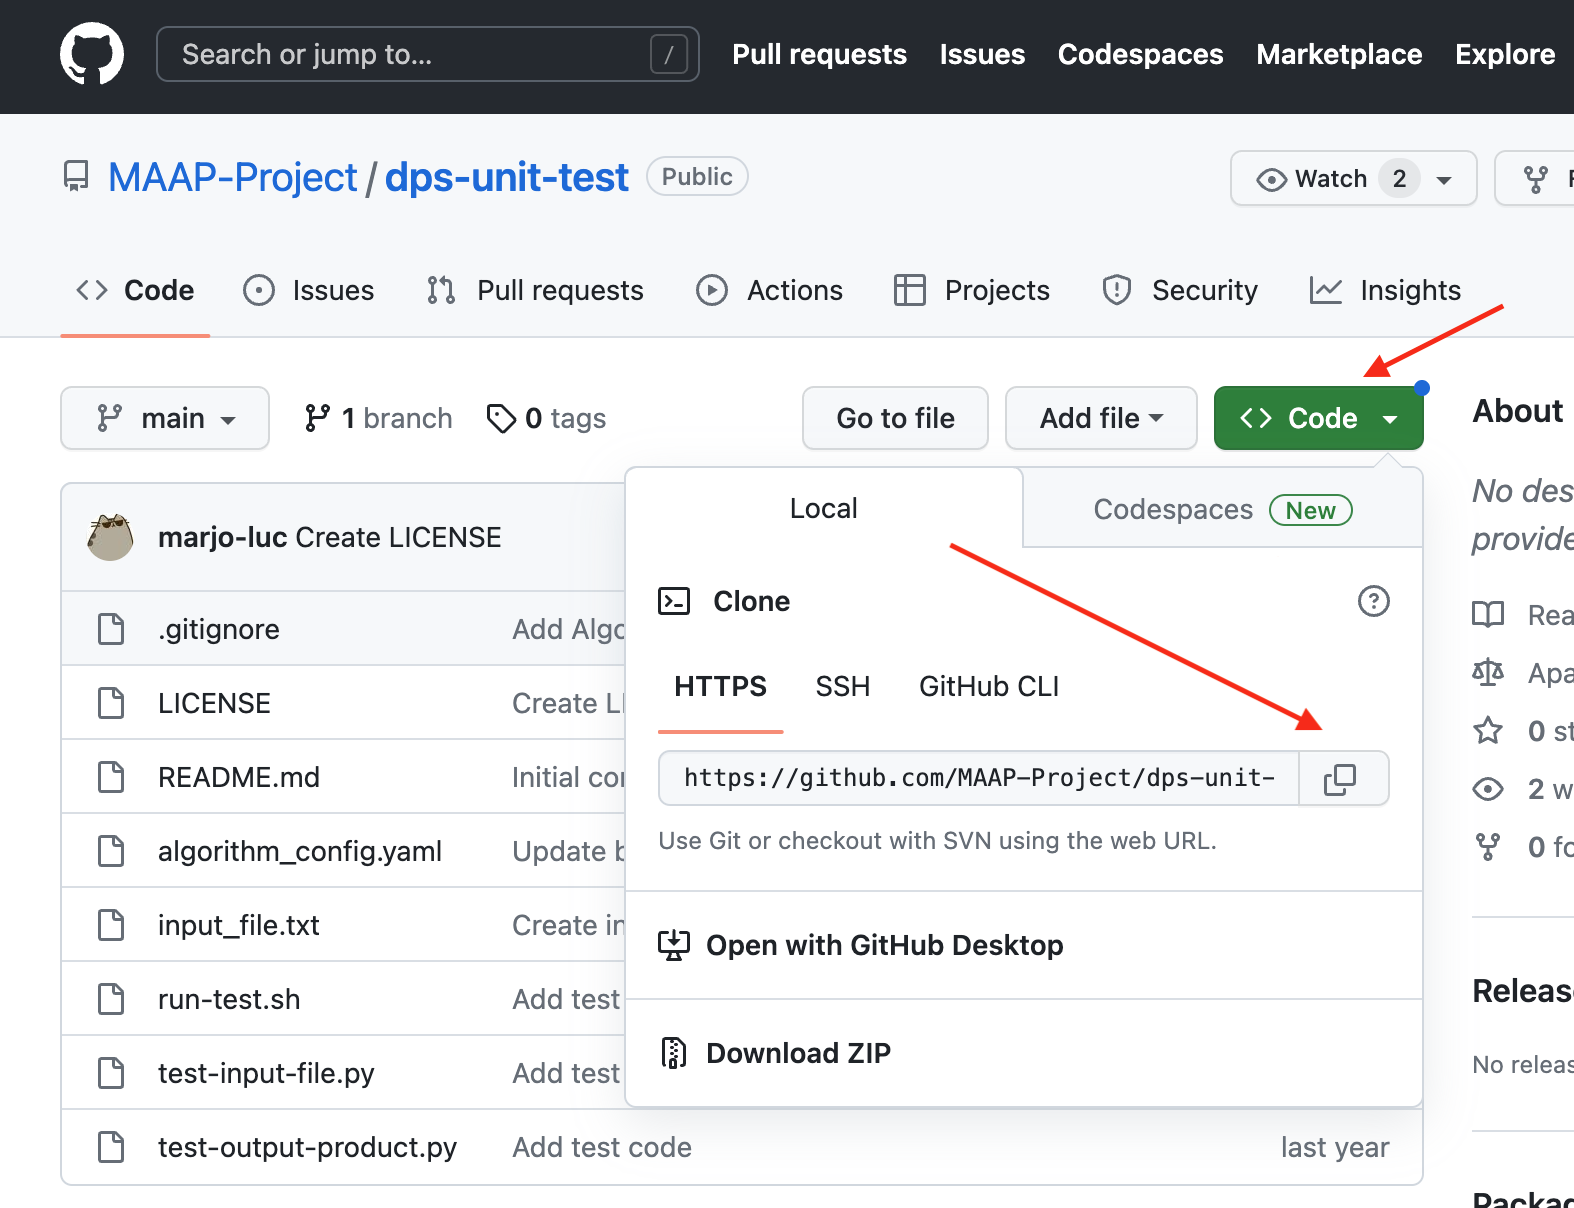
Here is an example repository you can use for this getting started guide: https://github.com/MAAP-Project/dps-unit-test
Copy the Github clone link from https://github.com/MAAP-Project/dps-unit-test
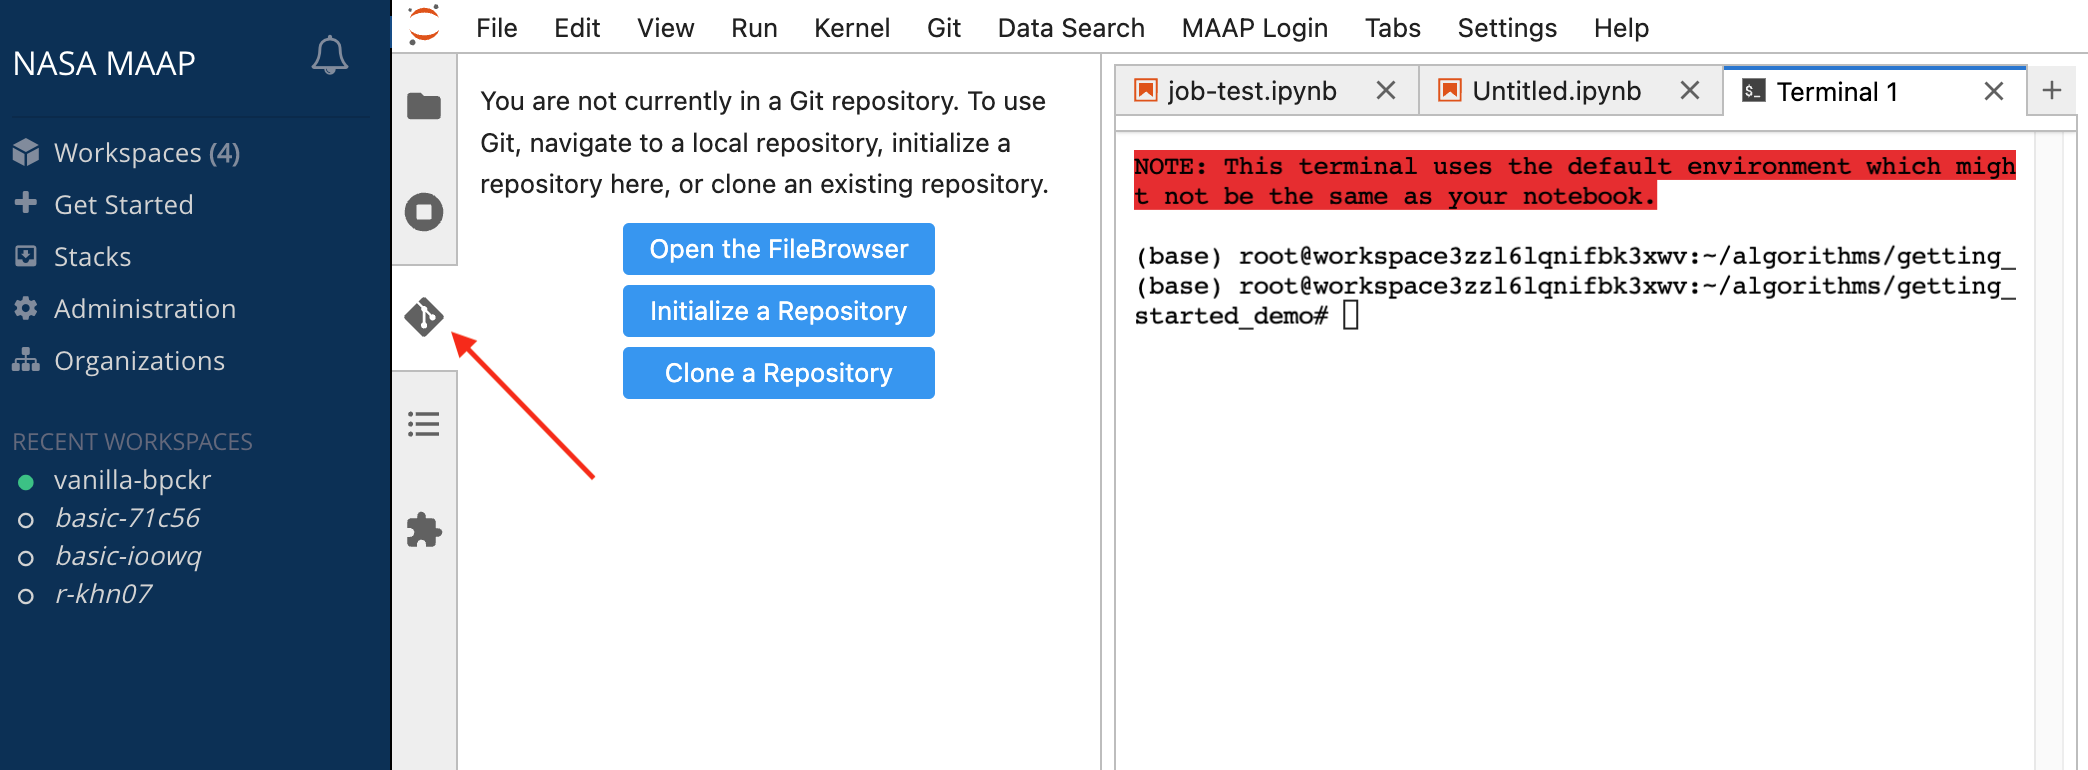
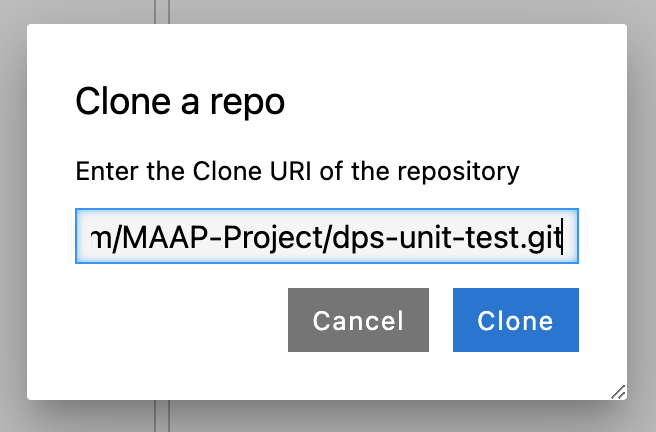
Open the built-in Jupyter Github UI to the left of the file browser. Choose “Clone a Repository” and paste in the .git link you copied from the Github repository. You can also access this menu through the Git tab at the top of the Jupyter window.
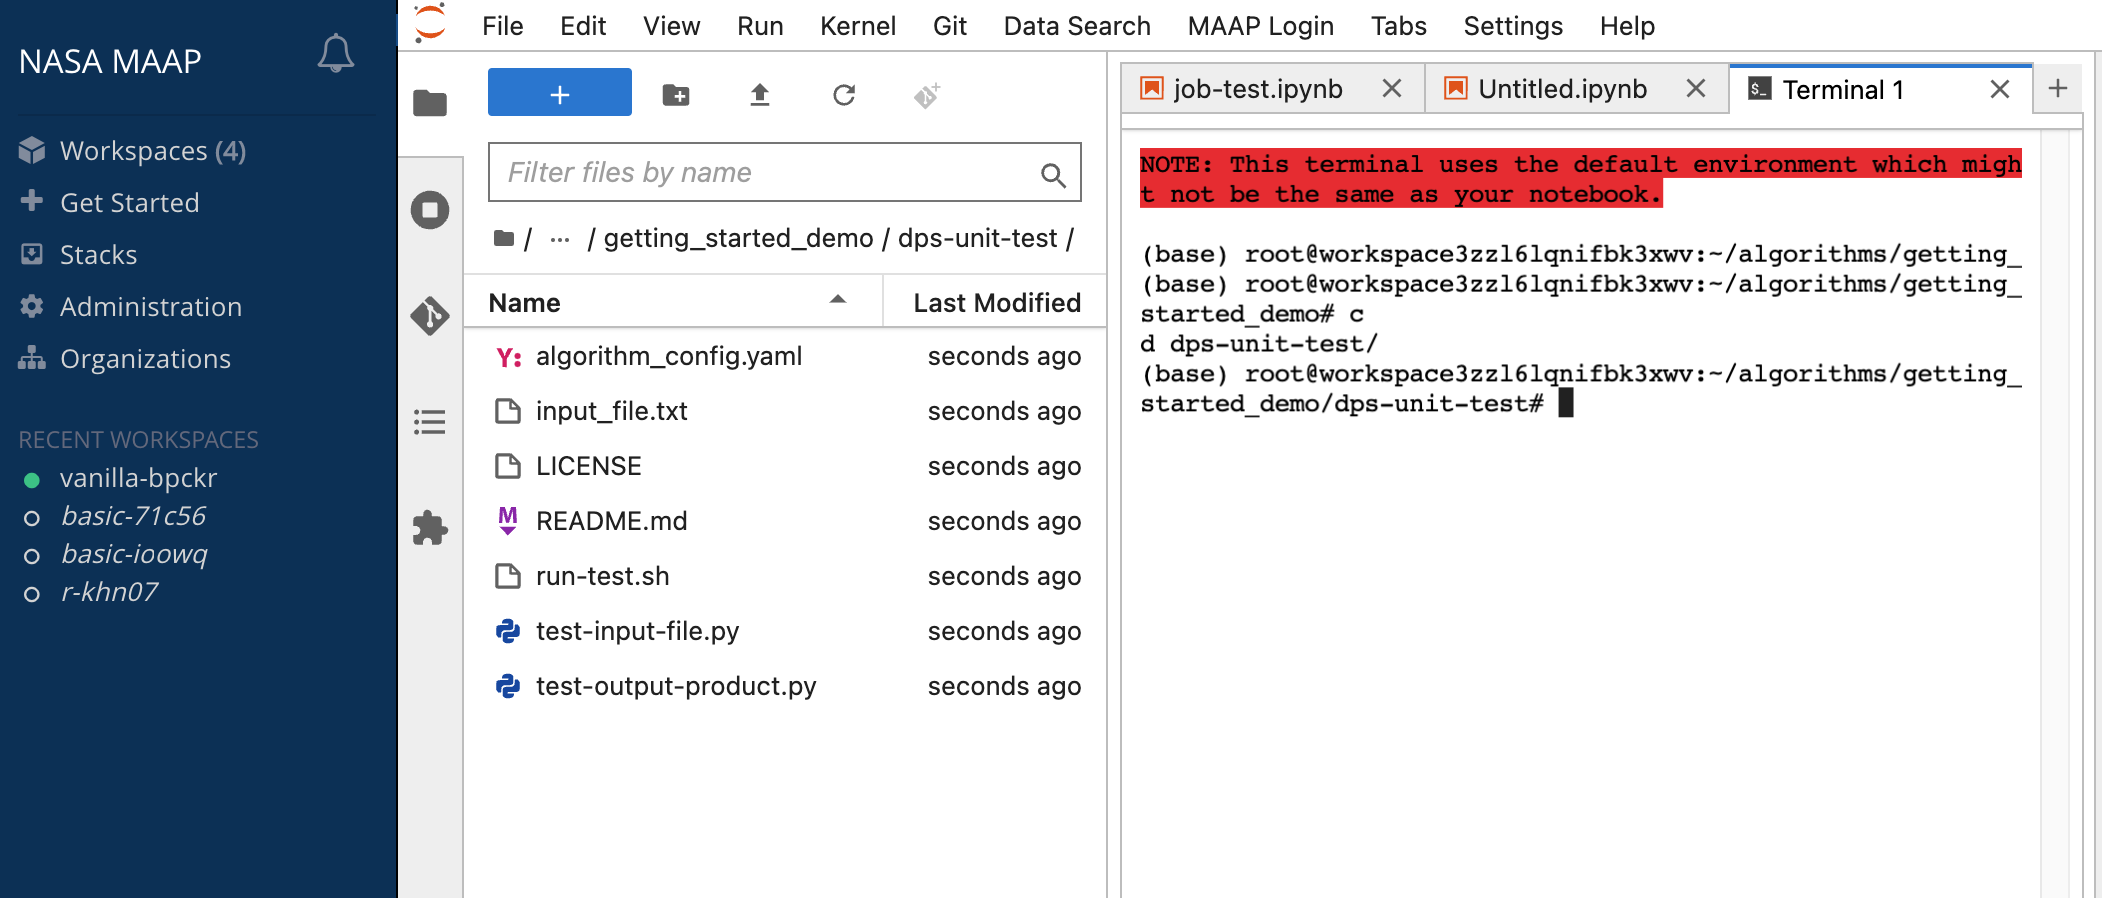
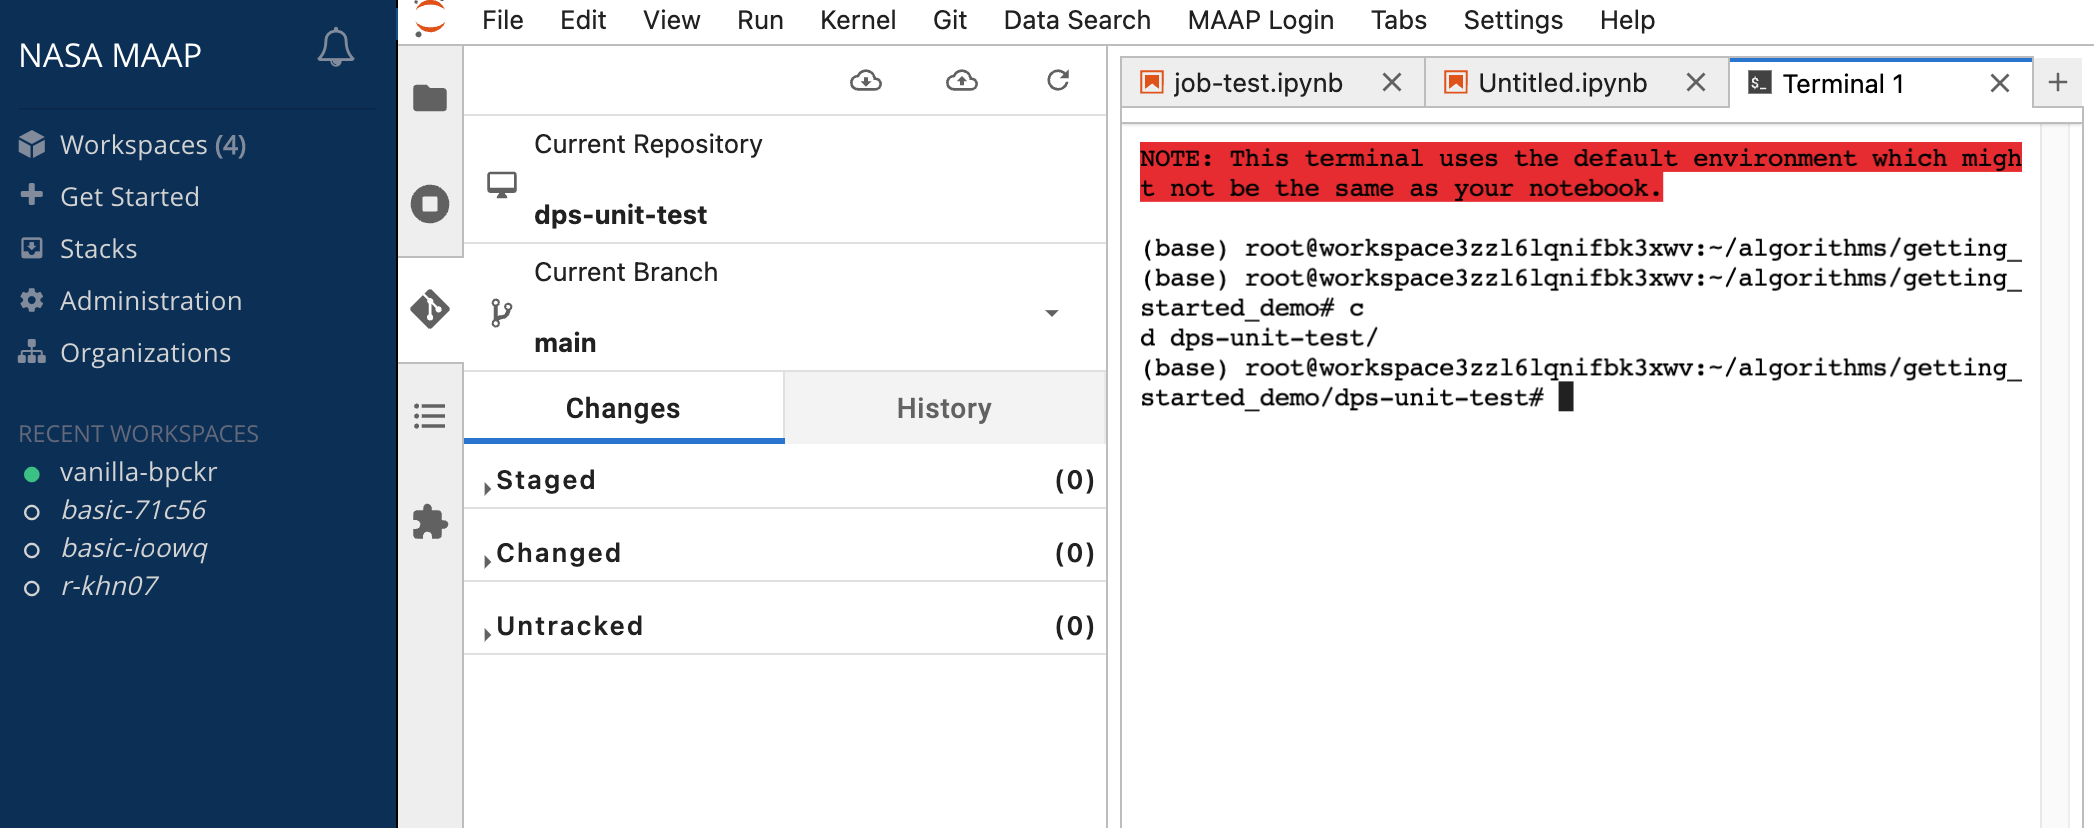
You should see a new folder created with the repo you cloned. If you browse to that folder and open up the Jupyter Github UI again, it will show you some info about that repo.

If you want to make changes to the code and have your own copy of it to register, clone the code into a public repository in Github or in MAAP Gitlab.
If you would like to create a template from an existing repository, create a new repository on GitHub where you have the option to “Import a repository” where you can supply the old repository git link.

Then, clone that new repository into the ADE via the steps above
Working with the MAAP GitLab
Note
git can behave slowly and strangely over s3 bucket-based storage (i.e., my-private-bucket and my-public-bucket). It is recommended to set up your git-tracked repos on the root (somewhere inside of ~ or /home/jovyan).
The MAAP GitLab instance is located at https://repo.maap-project.org/ . Make sure you can access this from the browser using your MAAP (EarthData Login) credentials.
For NASA security reasons, MAAP cannot communicate with its GitLab instance over SSH. There also isn’t a username-password authentication option. Therefore, the recommended way to access MAAP repositories is to use GitLab Personal Access Tokens.
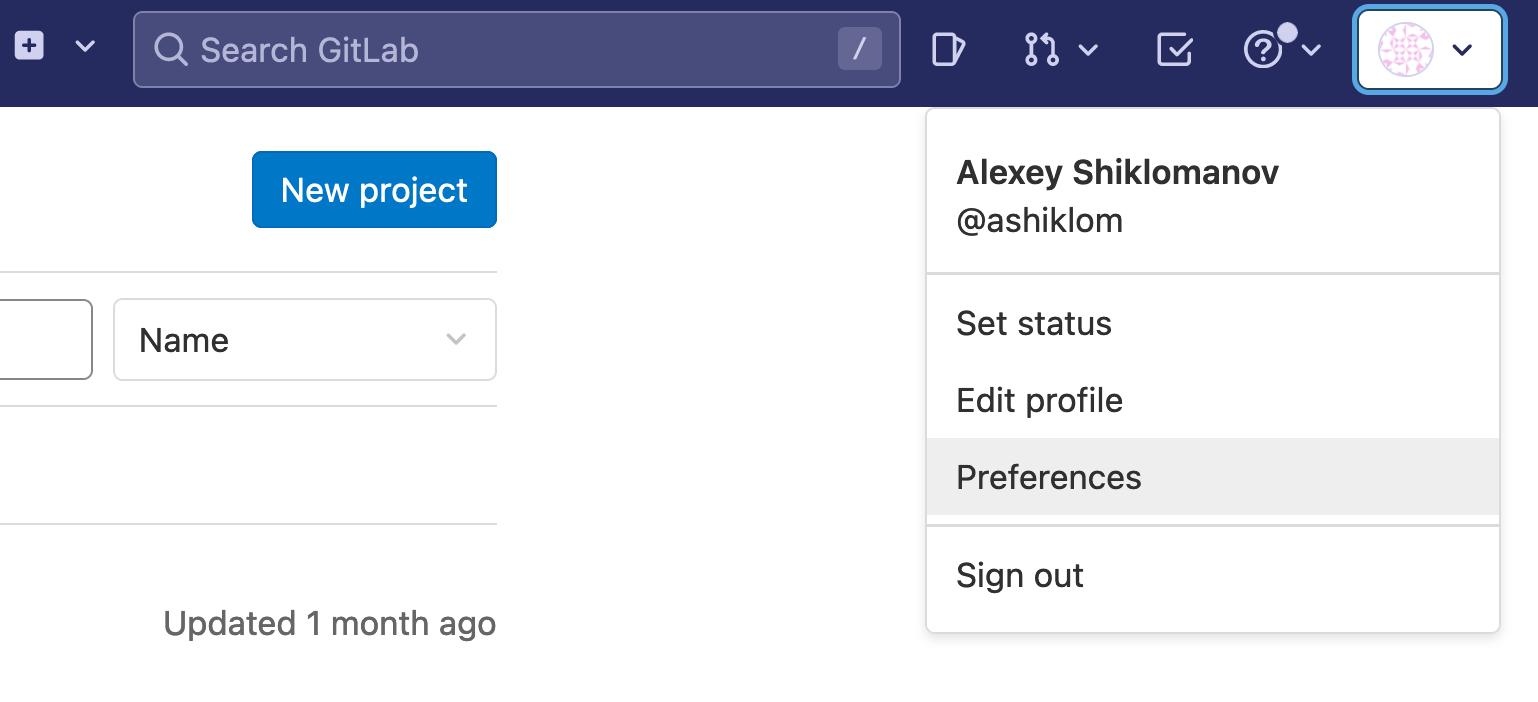
In GitLab, in the top-right corner, click your user icon → “Preferences”
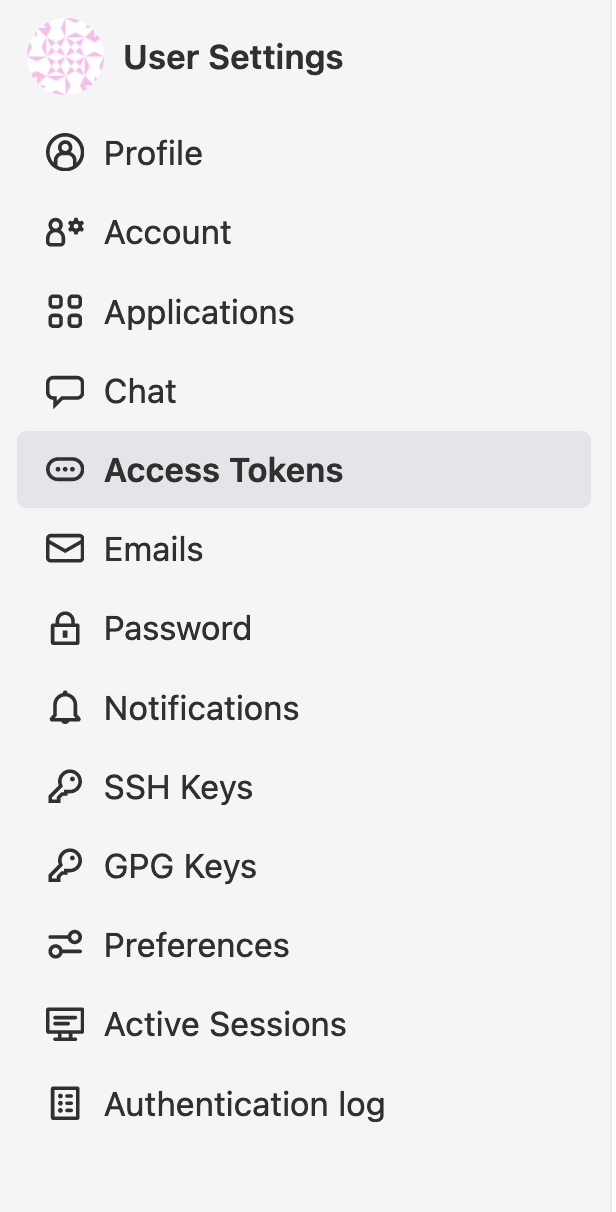
In the “User settings” menu, navigate to “Access Tokens”.
Create a new token with at least “read_repository” and “write_repository” permissions.
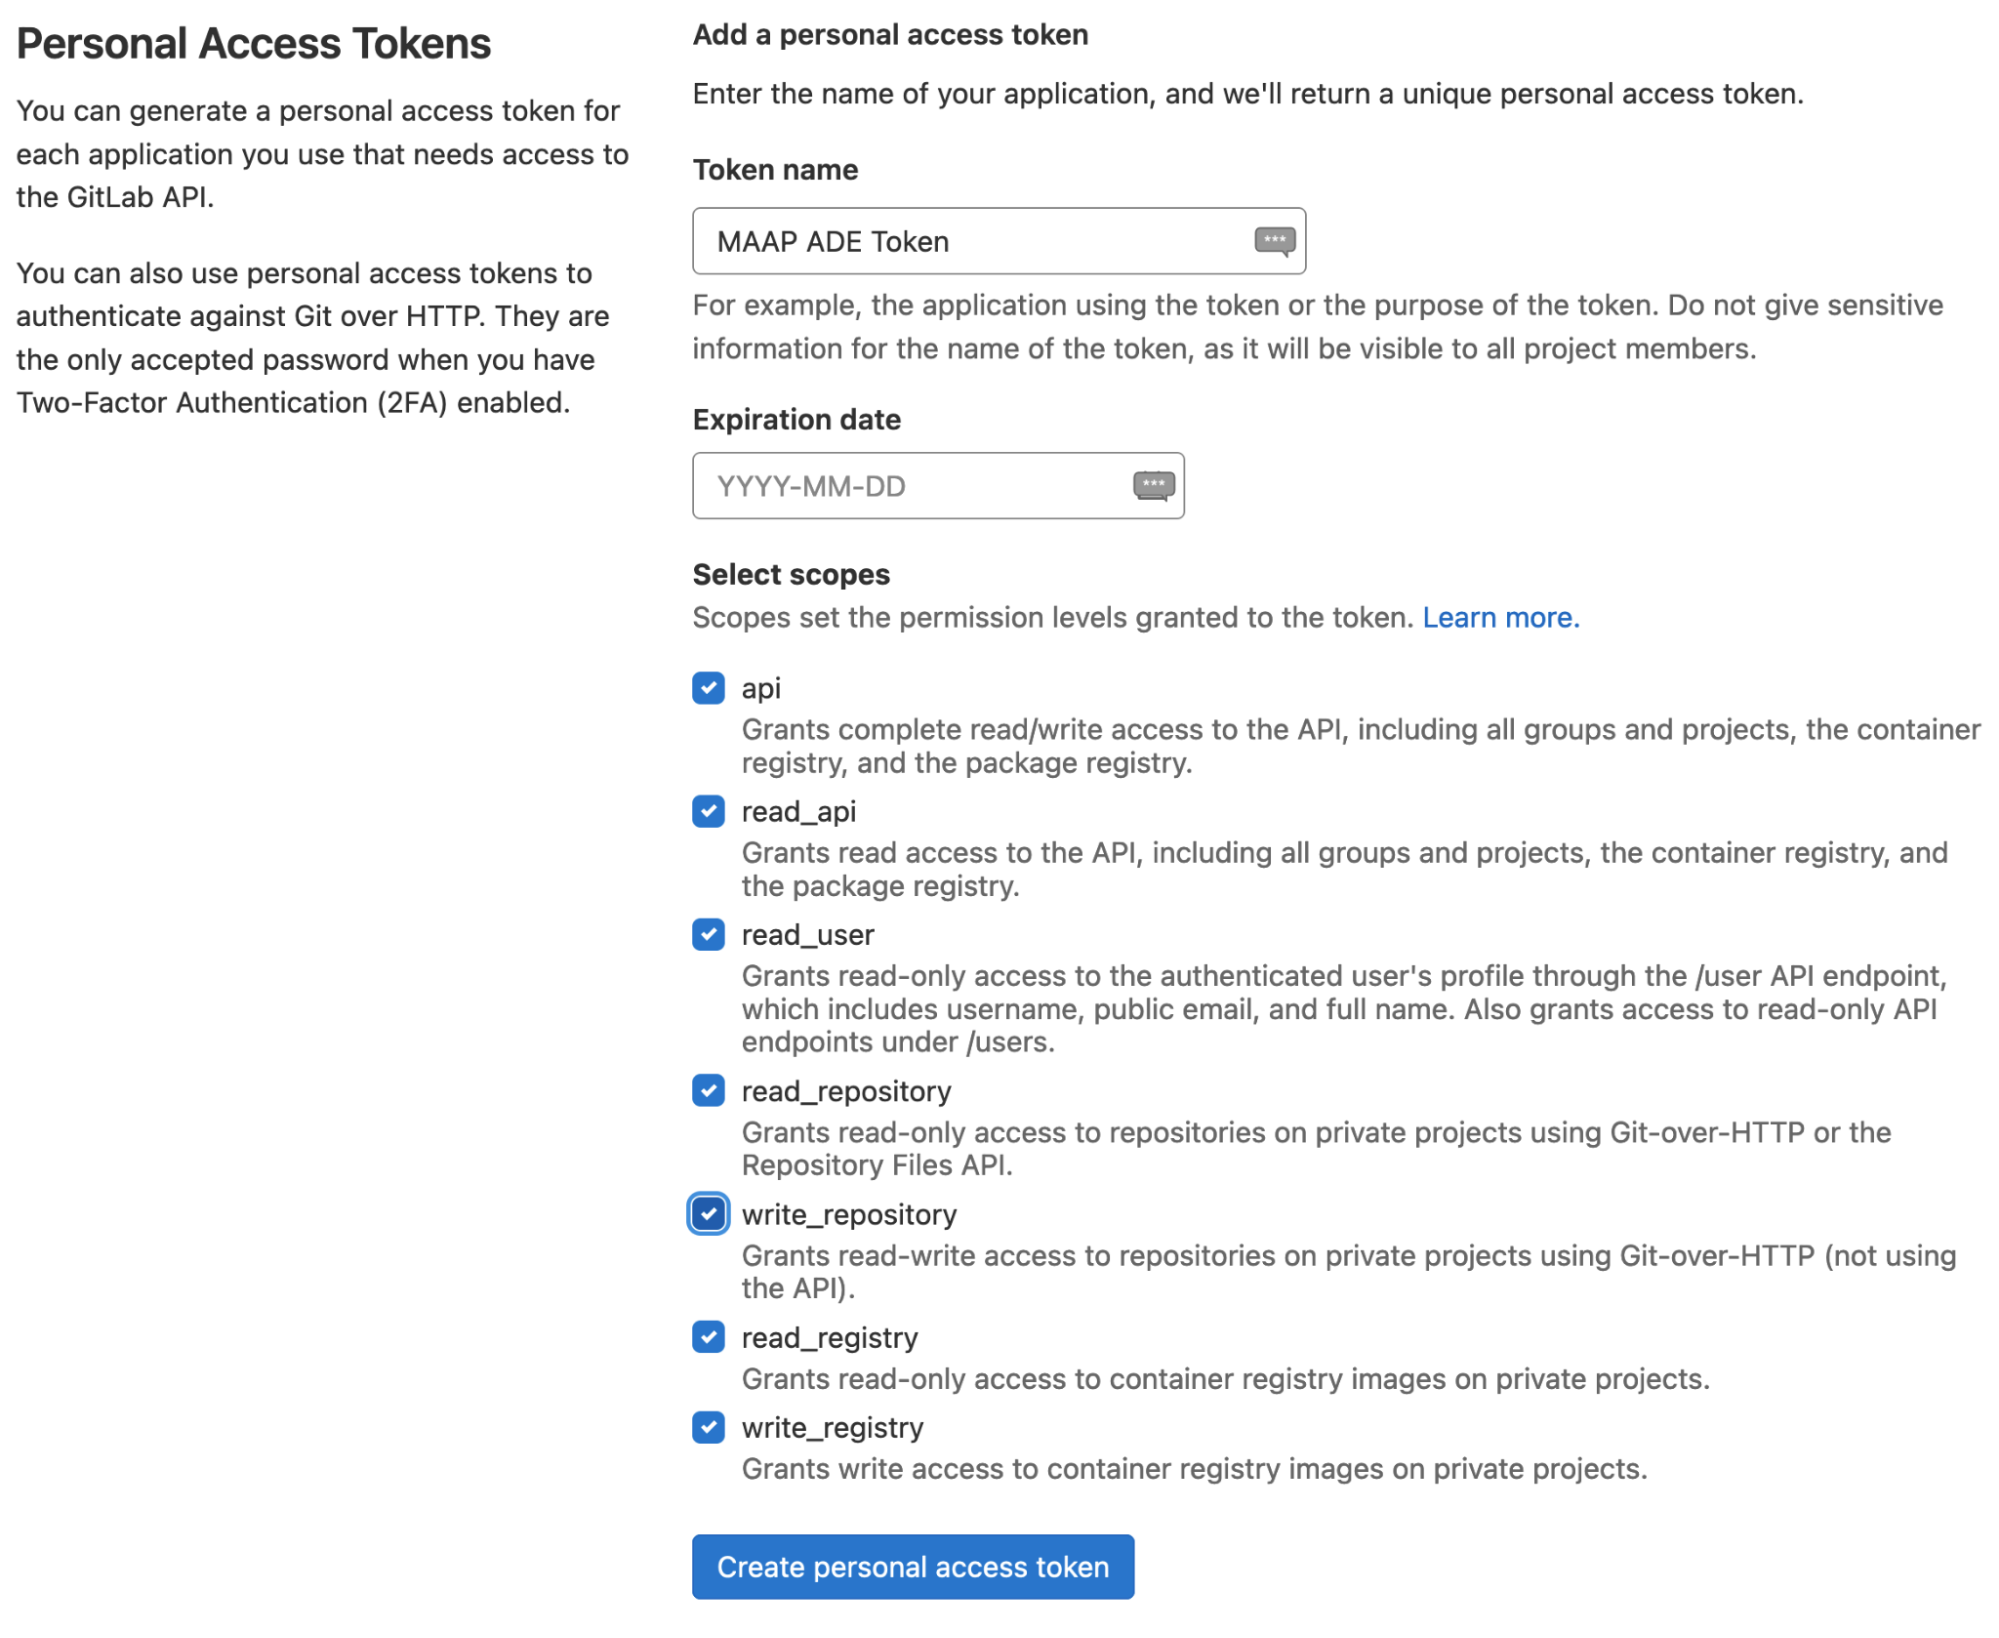
After clicking “create personal access token”, you’ll see a message like this pop up. Make sure you copy this token into a text file — you will not be able to access it again.

In the MAAP ADE, include this access token as part of the remote URL; e.g.,
git clone https://username:AccessToken@repo.maap-project.org/username/repo_name
For example:
git clone https://ashiklom:JJVimxhV8nmRNDqcCNr7@repo.maap-project.org/ashiklom/fireatlas
You can also clone the repository via the Git side tab and enter your personal access token instead of password when prompted.
If you want to use multiple code repositories, it’s possible to configure a repository to have multiple remotes — e.g.,
To add the maap remote and set the URL, cd into the repo and use this:
git remote add maap https://username:AccessToken@repo.maap-project.org/username/repo_name
If you already have the remote called maap set up, you can set the remote URL using this instead:
git remote set-url maap https://username:AccessToken@repo.maap-project.org/username/repo_name
Then, you can use these commands to push your code and effectively synchronize between Github and MAAP GitLab (for algorithm registration):
Push to Github:
git push origin <branch name>
Push to MAAP GitLab:
git push maap <branch name>
Initializing a new repository
Note It is recommended to create a new repository on Git, then clone it and paste files in, especially if you are starting from scratch and don’t have any files yet
Navigate to the folder you would like to make a Git repository
Click the Git sidebar
Select “Initialize a Repository”
Create a new, empty repository on GitHub or MAAP GitLab instance with the same name as your folder
Add a remote with the following code in your terminal
git remote add origin https://github.com/username/repo_name.git
git remote set-url origin https://github.com/username/repo_name.git
Or if you are using MAAP GitLab
git remote add maap https://username:AccessToken@repo.maap-project.org/username/repo_name
git remote set-url maap https://username:AccessToken@repo.maap-project.org/username/repo_name
And make code changes with
git add .
git commit -m <message>
git push --set-upstream origin <branch>
And enter classic personal access token instead of password when prompted
Committing Changes to a Git Repository
Note
Before you update your project with your changes, you need to get a “classic” Personal Access Token from GitHub. MAAP currently doesn’t supported fine-grained tokens. Create a classic personal access token by following these steps in Developer settings.
Note
Remember to save your personal access token because it is used as your password when connecting to Github from a MAAP Terminal.
Jupyter notebook checkpoints bloat git unnecessarily, so you can add the following to your .gitignore file to prevent this:
.ipynb_checkpoints
*/.ipynb_checkpoints/*
For more information on .gitignore files, see here.
Using the left side panel in the Jupyter interface, you can push changes to your Git project whether it is on the MAAP GitLab, or a public repository on GitHub.
If you are more comfortable using the command line to interact with Git, you do not need to use the side panel. It will work the same way in the terminal, once you navigate to the project’s filepath.
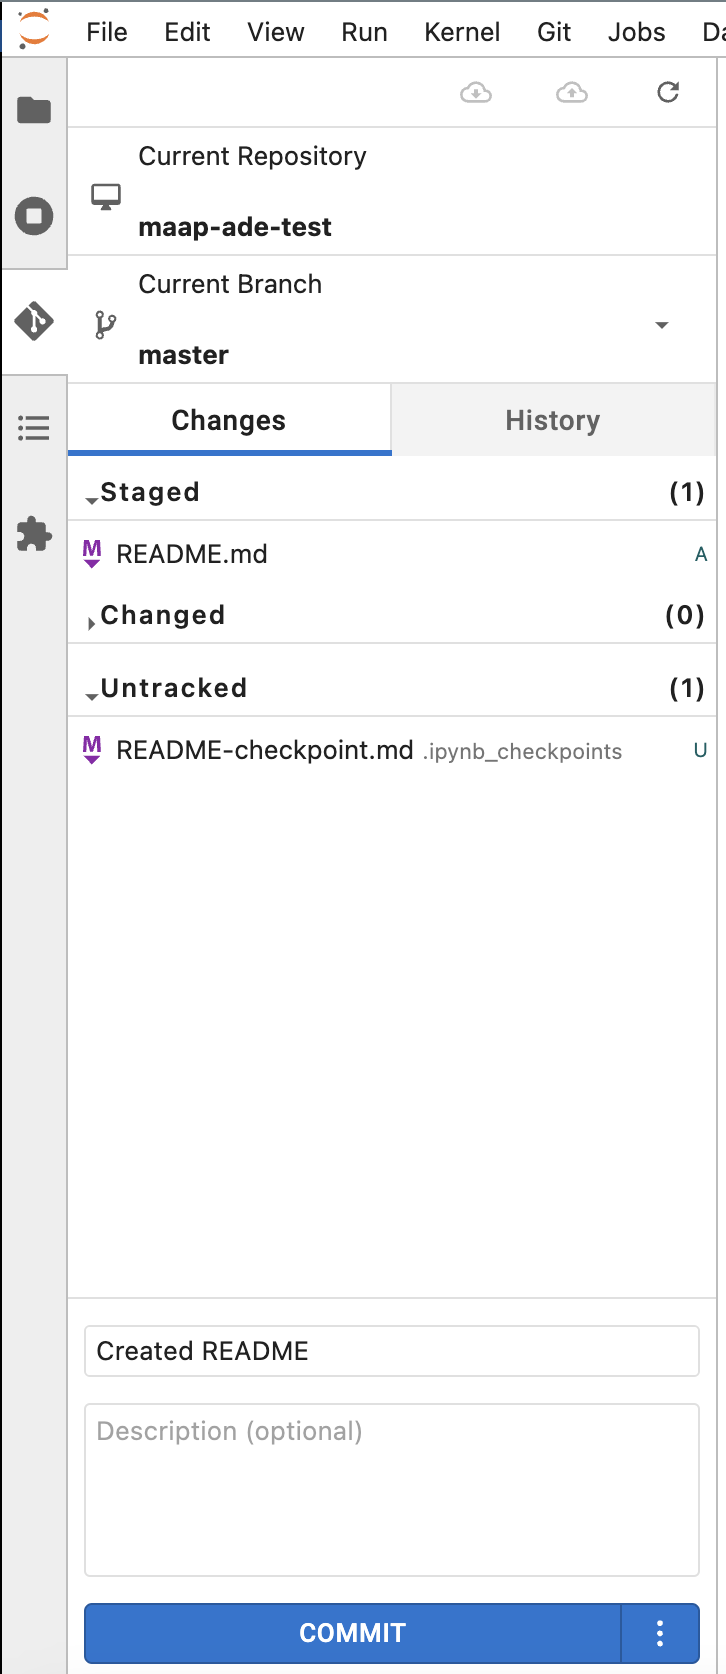
When you are ready to update your project with your changes, navigate to the Git panel. Add the files you want to change to the list of staged changes by clicking the + to the right of the file name. Then write a commit message, and blue commit button.
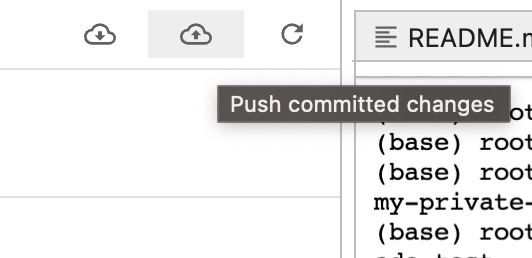
Now you need to push your changes by selecting the push changes button on the toolbar in the upper right.
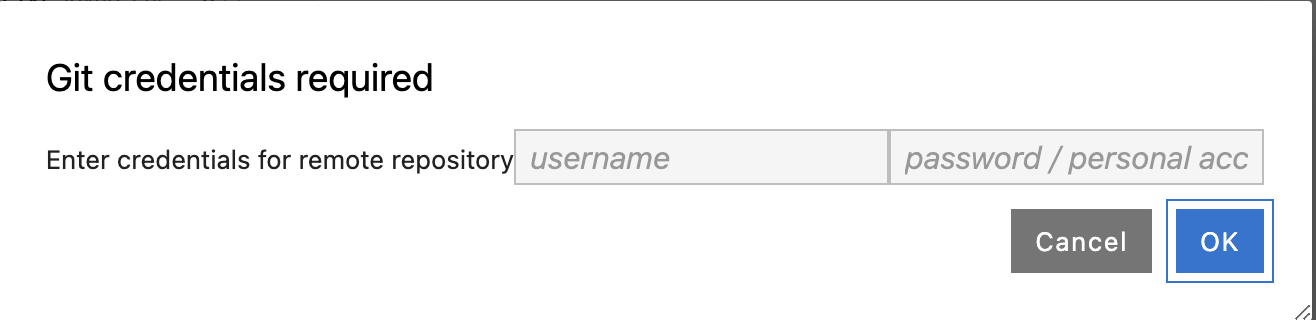
You then may be prompted for your Git username and Personal Access Token (not your usual Github password) that you created above.
You should then see “Successfully pushed”
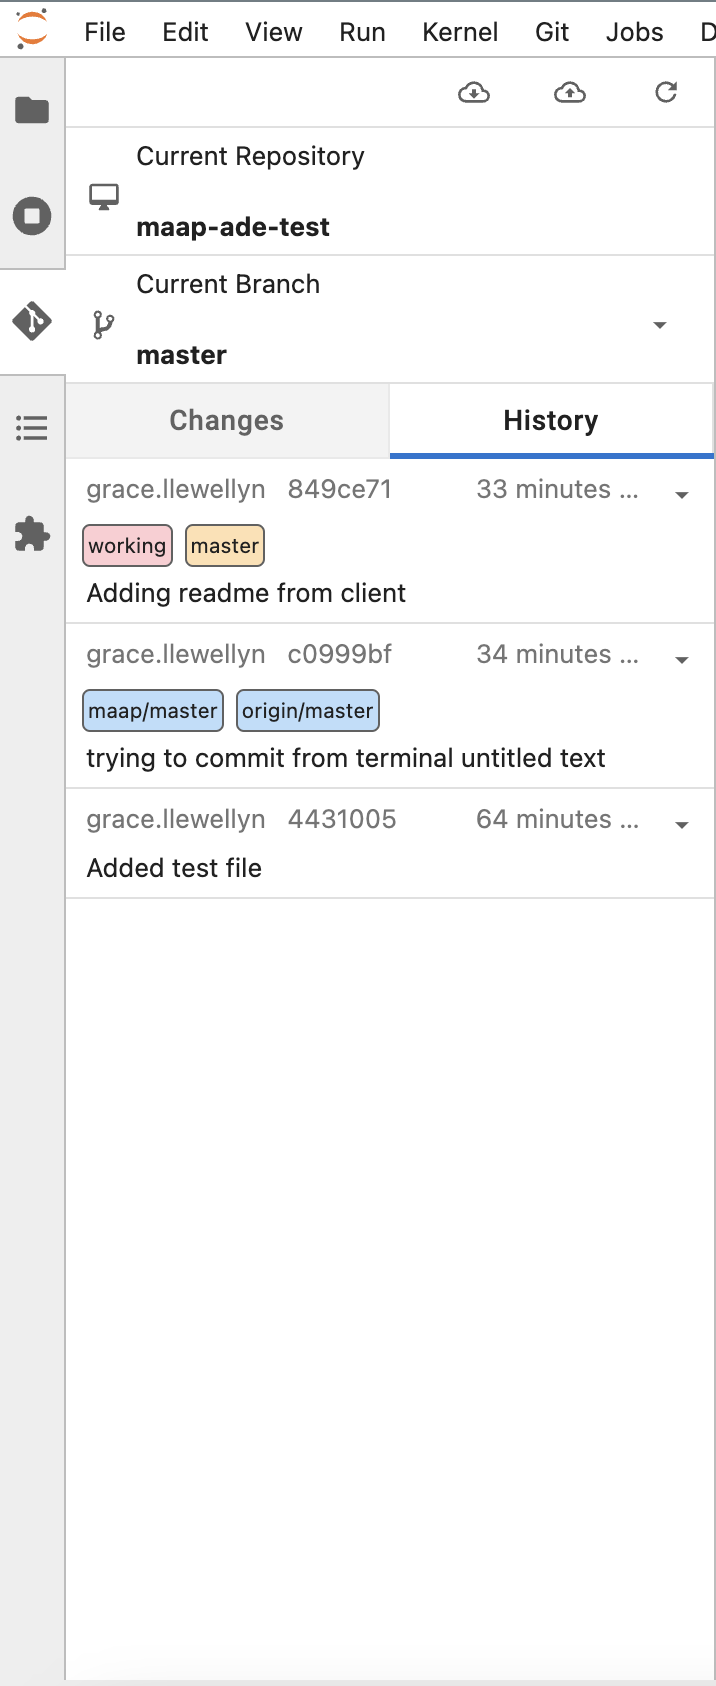
If you want to check your commit history, look at branches, and confirm your updates have been pushed, you can see this on the history tab.