SSH into Workspace
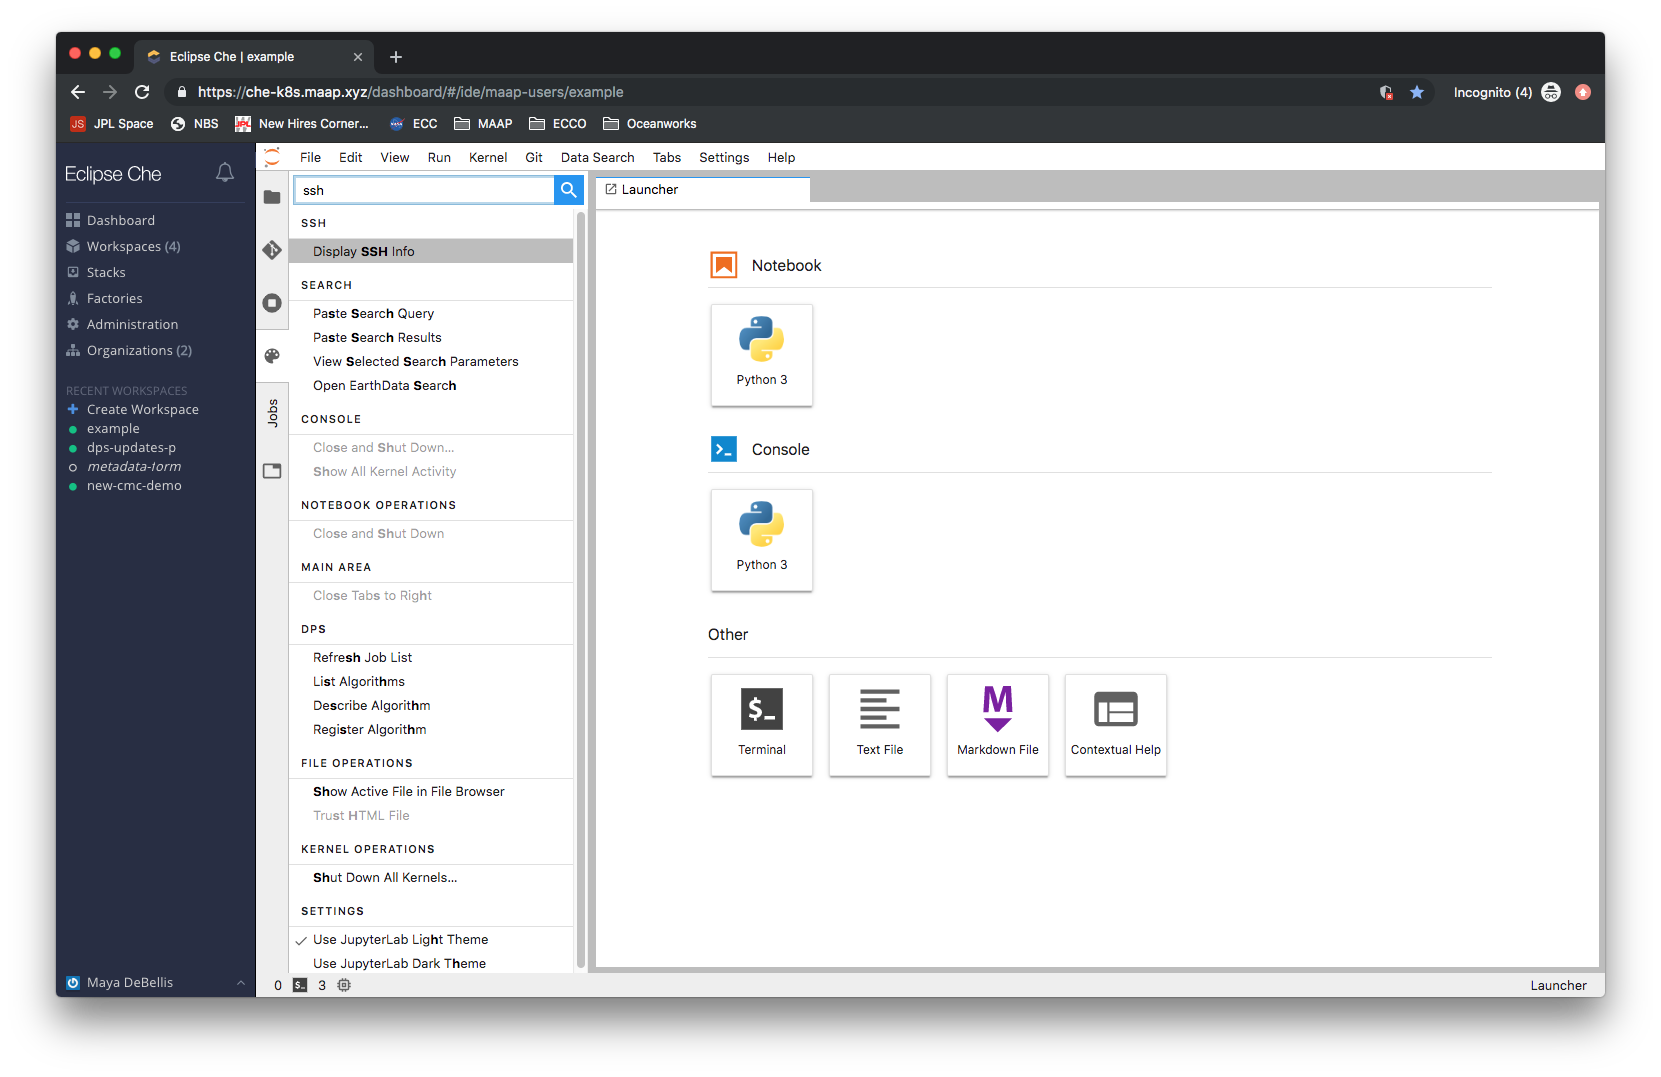
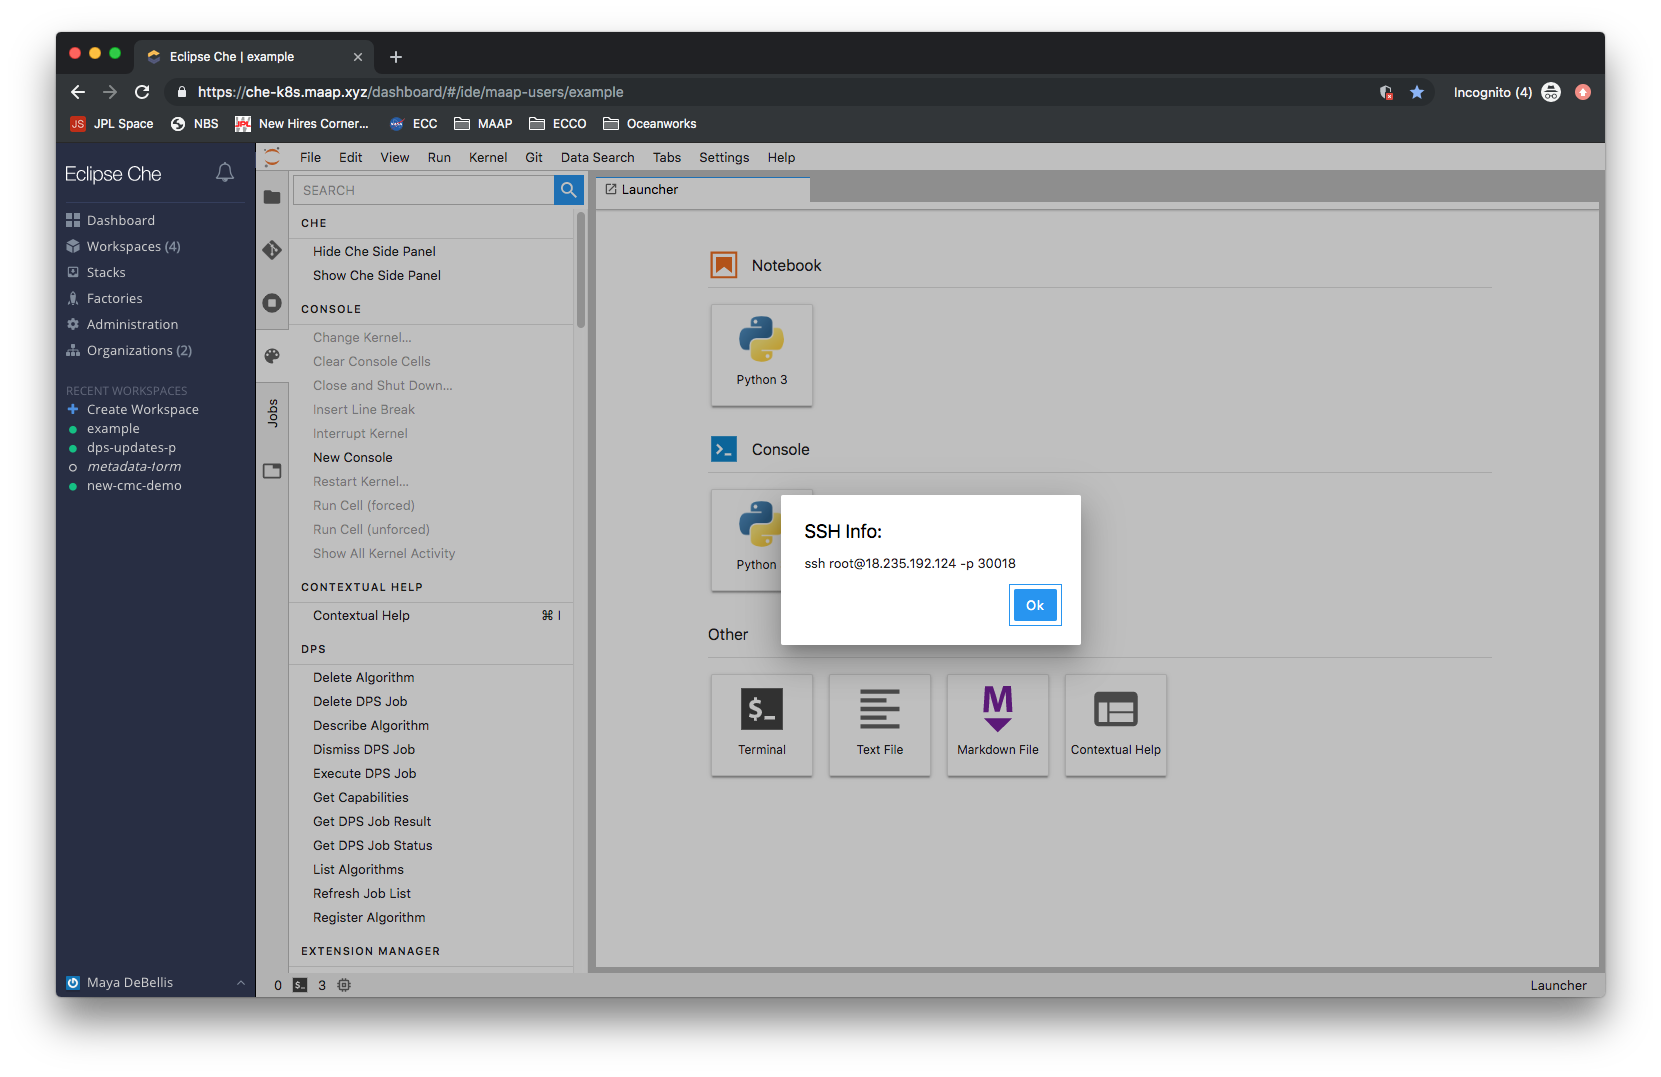
As an alternative to using the jupyter interface, you can SSH directly into the container that your workspace set up. In order to get the IP and port information, navigate to the command palette of the jupyter interface. Find the command Display SSH Info, which will display the information you need (you can easily search for SSH). Your public SSH key that you added to your account will be added to any workspace you create. If you did not upload an SSH key to your profile, you will not be
able to SSH in and must use the jupyter interface.


Accessing MAAP workspaces over SSH
If you would like to have your MAAP workspace mounted (via SSH) on your local computer, follow these steps. It is completely optional and if you do not know why you would want this, feel free to skip this part of the Getting Started Guide.
Basically, this works the same as on any unix-based system: You need to add your Public SSH key from your computer/laptop to the ~/.ssh/authorized_keys file in MAAP, as described below.
Generate a Public SSH Key
First, you need an SSH key for your personal machine. Here are example instructions for creating an SSH key. Note that there are different instructions for Windows and unix-based systems (MacOS, Linux). The outcome of this will be a Public SSH key on your local computer.
Add the Public SSH Key to MAAP
By default, you cannot see or edit hidden files in the MAAP Jupyter account. Therefore, you should do the following workaround:
On your local computer, copy the contents of the public SSH key you just created. It will usually have a
.pubextension (the default file is~/.ssh/id_rsa.pub) and its contents will look something like this (one long line):ssh-rsa AAAAB3Nza[...]TeDx1 ashiklom@gs610-ashiklom.ndc.nasa.govUse the Jupyter interface (right click in the file browser) to create a new folder in your home directory called
ssh.Inside that folder, use the Jupyter interface (right click in the file browser) to create a new file called
authorized_keys(NOTE: no file extension!).Double click the file you just created to open it in the editor.
Copy the contents of your SSH key from your computer into this file. Save it and close it.
Return to your home directory, right click the
sshfolder, click “Rename”, and rename it to.ssh(period in front). You will get a 404 error, but the operation will have succeeded, and folder will ‘disappear’.To check that this worked, in a terminal window, run
ls -ain your home directory. You should see the.sshfolder in there.
Repeat these steps to add more SSH keys from different machines.
Note that, to see the
.sshfolder from JupyterLab, you’ll need to temporarily rename it tossh. The only way to do this is via the terminal —mv .ssh ssh. Don’t forget to rename it back to.sshwhen you’re done!
To access a MAAP workspace over SSH, you will need a workspace-specific IP address and port. You can find this by going to the JupyterLab commands menu — the 4th button in the left panel of the Jupyter interface; shows a looking glass over a list; alternatively, press Control + Shift + C (Command + Shift + C on Mac) — and search for “SSH”. You’ll see “Display SSH Info”. Click this button. A dialog box with the correct SSH command will appear.
Uploading your public SSH key
In order to access your ADE workspaces using SSH, you’ll need to upload your public SSH key to your MAAP profile using the MAAP portal at https://maap-project.org.
Click on your profile name (or the “Login” button) in the top right corner shown here:

On your profile page, click the “Choose File” button to upload your key.

After uploading your key, the SSH connection will be enabled after your next login into the ADE.